Every developer can benefit from using the command line. Whether you use it to bounce between projects or create complex scripts, getting familiar with the command line can drastically improve your workflow.
In this post, we'll cover some of the great tools available for streamlining your command line experience.
After some experimenting, I’ve found that using a combination of iTerm 2, Zsh, Prezto, Tmux, and Tmuxinator makes for an extremely productive setup. I'll go over each of these tools and then show how they can be combined to improve your development workflow.
Note: It should go without saying that there's no right way to work. I prefer to use the command line because I'm a fast typist and hate using the mouse, but everyone has their own opinion. Let me know how you prefer to work!
iTerm 2
iTerm 2 is a replacement for the Terminal app that ships with Mac OS X. I use it for these great features:
- Split pane views
- Hotkey Window that gives you an always-available Terminal window
- Better search highlighting
- Mouseless copy
You can find a complete list of features here.
ZSH Over Bash
ZShell (Zsh) is a shell designed for interactive use, and can be used as a powerful command interpreter for shell scripting.
There are very few differences between Bash, the default shell for Mac OS X, and Zsh for the average user. I chose to switch to Zsh because it has some fantastic community-driven frameworks available.
Here are some of the advantages of Zsh when compared to Bash:
- Better completion handling. Not only are completions command-specific, Zsh also adds the ability to navigate the completion list by hitting
<Tab>.

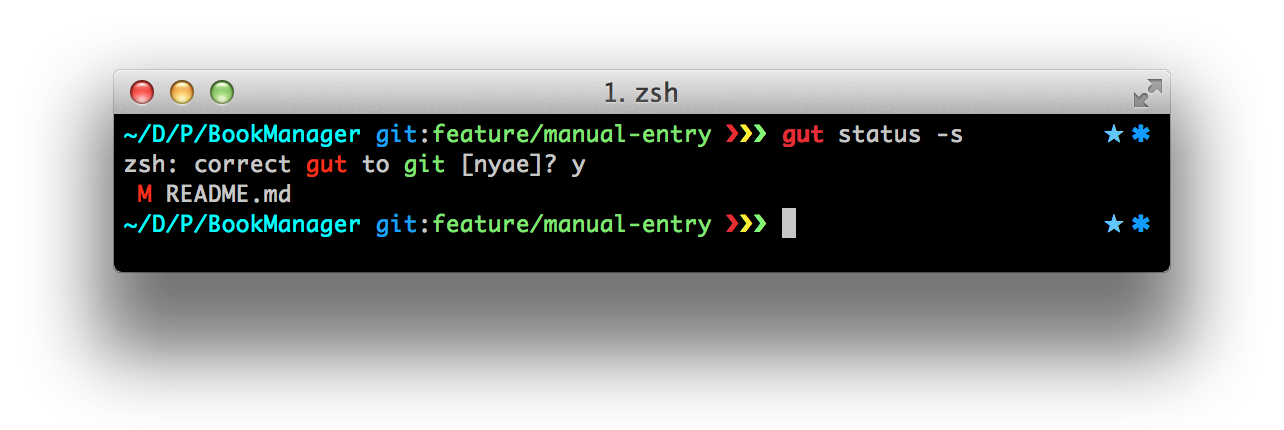
- Spelling correction. If you spell something wrong, Zsh can sometimes suggest a correction and re-run the command for you.
- Right-hand prompts. Zsh gives you the ability to add supplementary information to the right side of your prompt. I use this to display git information, but I've seen others use it for battery indicators.
Let’s take a look at two of the most popular Zsh frameworks: oh-my-zsh and prezto.
OH MY ZSHELL!
Oh-my-zsh is the first framework we’ll look at. With over 120 optional plugins and 120 themes, oh-my-zsh is the largest Zsh framework. After using it for several years, I’ve found it to be very stable and easy to use.
![]()
Note: I've since switched to Prezto, but oh-my-zsh is a fantastic framework worth mentioning. Read more about how to decide between the two frameworks by scrolling down to the Choosing Between Oh-my-zsh and Prezto section.
Plugins
The real power behind these frameworks comes from their plugins. When I was using oh-my-zsh, here were the plugins I used the most:
- git - A great plugin that adds a bunch of fantastic aliases. This was my most used plugin when I was using oh-my-zsh.
- git flow - I use the Git Flow branching model for git. The
git flowplugin adds a bunch of git extensions that take a few steps out of the process. - github - A plugin that adds auto-complete to the github gem, which is super useful for interacting with GitHub from the command line. (hub is also a great option for this)
- brew - A great auto-completion plugin for HomeBrew, the package manager for Mac OS X.
- bundler - Occasionally I’ll have a Gemfile with my iOS projects to help manage any helper Ruby scripts I have, in addition to locking down a project to a specific version of CocoaPods. This plugin adds a few shortcuts for Bundler, including exec, update, and install.
- osx - A plugin that adds a few aliases that interact with Finder.
- textmate - A bunch of helper aliases for opening files and directories in my favorite editor, Textmate.
- sublime - For those who prefer Sublime Text over Textmate, this plugin is great for opening files and directories in Sublime.
- tmux - A plugin that adds several options for effecting the startup behavior of tmux, my terminal multiplexer of choice.
- tmuxinator - A plugin that adds completions for Tmuxinator, a tool I’ll be covering later in this post.
A full list of plugins can be found here.
If you’d like to go ahead and install oh-my-zsh, the official instructions can be found on their GitHub repository. Before you do, though, you should see if Prezto is better suited for your needs.
Prezto
From the official Prezto repository:
Prezto is the configuration framework for Zsh; it enriches the command line interface environment with sane defaults, aliases, functions, auto completion, and prompt themes.
Prezto is a fork of oh-my-zsh that has been rewritten for speed. After using it for the past several months, I’ve found it's much faster than my oh-my-zsh setup.
Prezto also has themes and a fantastic selection of plugins (although Prezto calls them modules). Here are the modules I use the most:
- git - Adds some great aliases for git.
- utility - Adds some great general-purpose aliases.
- homebrew - Adds useful HomeBrew aliases.
- ruby - Adds aliases for working with Ruby gems, RVM, rbenv, and Bundler.
- rails - Adds some great aliases for working with Rails.
- tmux - Adds support for starting tmux automatically at startup and some great aliases.
- syntax-highlighting - Adds syntax highlighting for commands to zsh. Make sure to load this module second to last, where the last module is prompt.
- osx - Adds aliases for Mac OS X, including support for QuickLook.
- history - Adds history options and aliases. Running
history-statgives you a cool list of your top 10 most used commands. - wakeonlan - Adds support for waking computers using the wakeonlan tool.
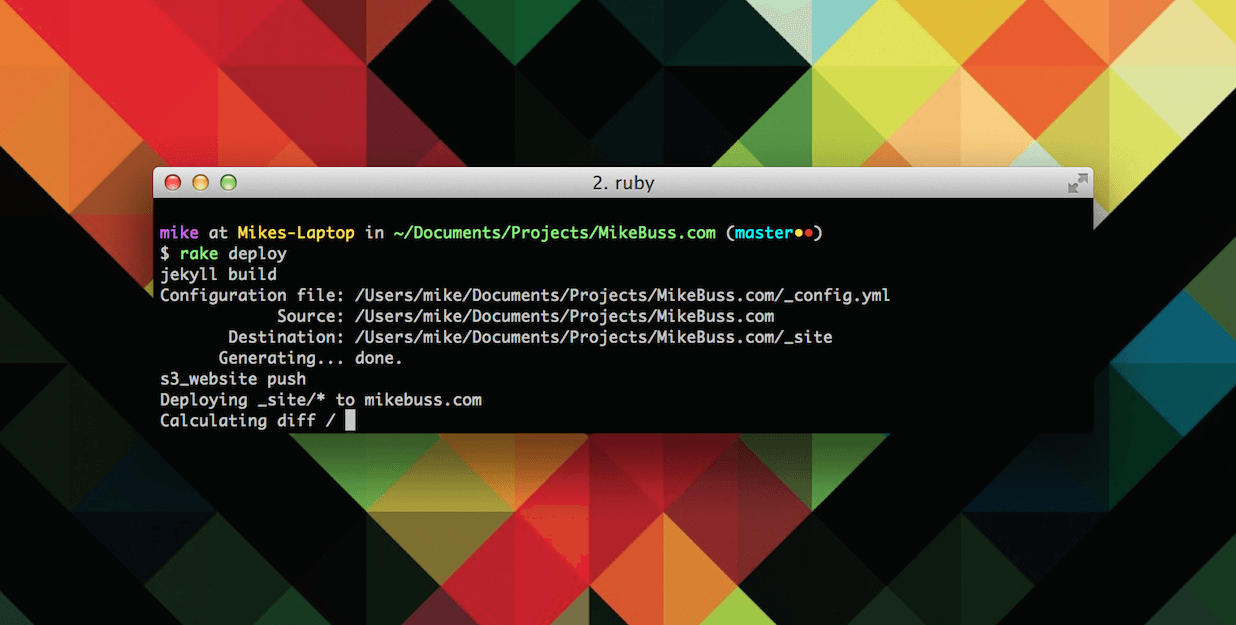
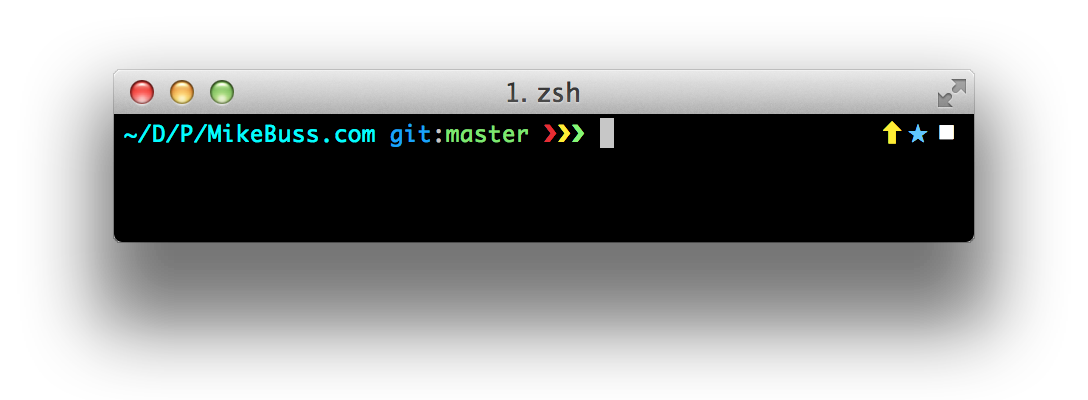
The cover image for this post uses the steeef theme for Prezto. More info on customizing your Prezto prompt here!
Choosing Between Oh-my-zsh and Prezto
Oh-my-zsh has a much larger selection of themes and plugins, but Prezto's tab completion is noticeably faster.
If you have a plugin you’d really miss by switching to Prezto, I’d suggest sticking with oh-my-zsh. Otherwise, the speed increase is well worth the switch.
Tmux
Tmux is a terminal multiplexer. Terminal multiplexers lets you easily switch between several programs in one terminal, which makes them the perfect tool for moving from one workspace to another.
After using tmux for over a year, I can't imagine life without it. After memorizing a few keystrokes, it's extremely easy to switch between projects.
The website Giant Robots Smashing Into Other Giant Robots has a great crash course on tmux. It's definitely worth a read!
Tmux can be installed with HomeBrew using brew install tmux.
Tmuxinator
Tmuxinator is a Ruby gem that makes creating and managing complex tmux sessions a breeze.
Tmuxinator can be installed with gem install tmuxinator.
Feeling Social? Try Wemux
Wemux adds powerful, easy to use multi-user terminal multiplexing. If you’ve ever wanted to share your terminal with someone else, this is a great way to do it. It has several modes that allow for different access privileges.
Wemux can also be installed using HomeBrew using brew install wemux.
Putting It All Together
So you've got all these great tools installed. Now what? Let's go over how you can work them into your workflow.
Git Integration
Both frameworks have themes that let you put git information in your prompt.
Here's an example of a great oh-my-zsh prompt:
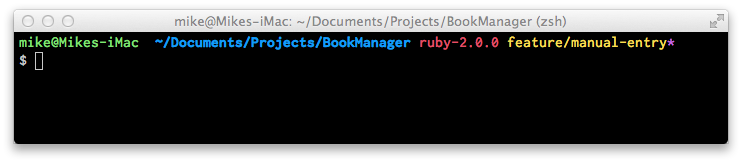
Just from looking at the prompt, you can tell:
- Current machine name
- Current working directory
- Current Ruby version (using RVM)
- Current git branch
- Whether there are uncommitted changes (the asterisk)
Having all of this information available every time you enter your project's directory is invaluable. The less typing you have to do, the better!
Long-Running Processes
There are some great command line tools out there for iOS developers. Nomad-CLI is a great example, with 5 tools all geared towards iOS development and testing.
Let's go over one way to work with long-running processes using tmux. First, make sure you have tmux installed. Using HomeBrew, it's as simple as running:
$ brew install tmuxNext, let's install Shenzhen, a tool for creating and distributing an IPA for your iOS app.
$ gem install shenzhenNow that we have both tools installed, go ahead and start a new tmux session called 'deploy':
$ tmux new-session -s deployNavigate to your iOS project's directory and build your project using this command:
$ ipa buildIf this works, you should see your IPA file in the same directory. Now for the fun part!
You can distribute your app through TestFlight, HockeyApp, or FTP using Shenzhen, so let's give that a try. If you have one of these distribution methods, feel free to follow along. If not, just take my word that this command works!
$ ipa distribute:sftp --host HOST -u USER -p PASSWORD -P FTP_PATHDepending on the size of your app and your connection, uploading the IPA can take a considerable amount of time. This is where tmux comes in.
While the IPA is uploading, try detaching your session by hitting CTRL+b and then d with the window in focus. You should return to the prompt you saw before running the tmux new-session command.
If we're back to the original prompt, where did the upload go? Well, detached tmux sessions continue to run in the background. Let's go back to our long-running upload process by reattaching the session:
tmux attach-session -t deployAnd voilà! You're back to the upload process.
Tmux is a great way to switch back and forth between workspaces. Using it to put a process in the background and check back on it's process periodically is just one small example of what tmux is capable of - this example is barely scratching the tip of the iceberg.
Note: Checking back on a long-running process is fine, but if you'd like to receive a push notification when it finishes, check out Push Notifications from the Command Line Using Pushover. The tutorial works even better when you incorporate tmux into the mix.
Conclusion
Getting familiar with the command line can drastically improve your workflow. If you prefer using the keyboard over the mouse, you should try out some of these great tools.
Have a suggestion for a tool? Want to share your workflow? Feel free to send me a line!