I was thinking of projects to work on, and I thought, gee, it would be nice if our 3D printer didn’t kill us.
I had researched the potential health side effects of owning a 3D printer when I bought it - it turns out they can malfunction and catch fire or release harmful chemicals into the air - but I made excuses. I’m only printing in Polyactic Acid (PLA), one of the least harmful filaments - it’s probably fine. Sure, maybe it releases some tiny plastic into the air, but it’s a big room, and sometimes I keep the windows open. Our smoke detectors are brand new and well tested. We're probably fine.
Now that we welcomed Theodore, our now 3-month-old, into the world, I wanted to be on the safe side. So, I set out to build an air filtration system and some other safety features.
The Start of an Idea
As with most of my hobby projects, it started out simple. I thought of strapping a fan to a HEPA filter and maybe adding a carbon filter for extra protection. Then I thought: wouldn’t it be cool if it turned on and off automatically when a print started? Surely that wouldn’t be too difficult to build.
And wouldn’t it be even better if the system could tell when the volatile organic compounds (VOC) levels were high and adjust the fan speed accordingly? Since the goal is to make this box less likely to kill everyone in our sleep, why not add a fire sensor and an electric cutoff?
Eventually, I landed on building a totally ridiculous, completely overkill air filtration system for our 3D printer that probably wasn’t necessary in the first place. And it was lots of fun.
Here’s how I did it.
Sketching It Out
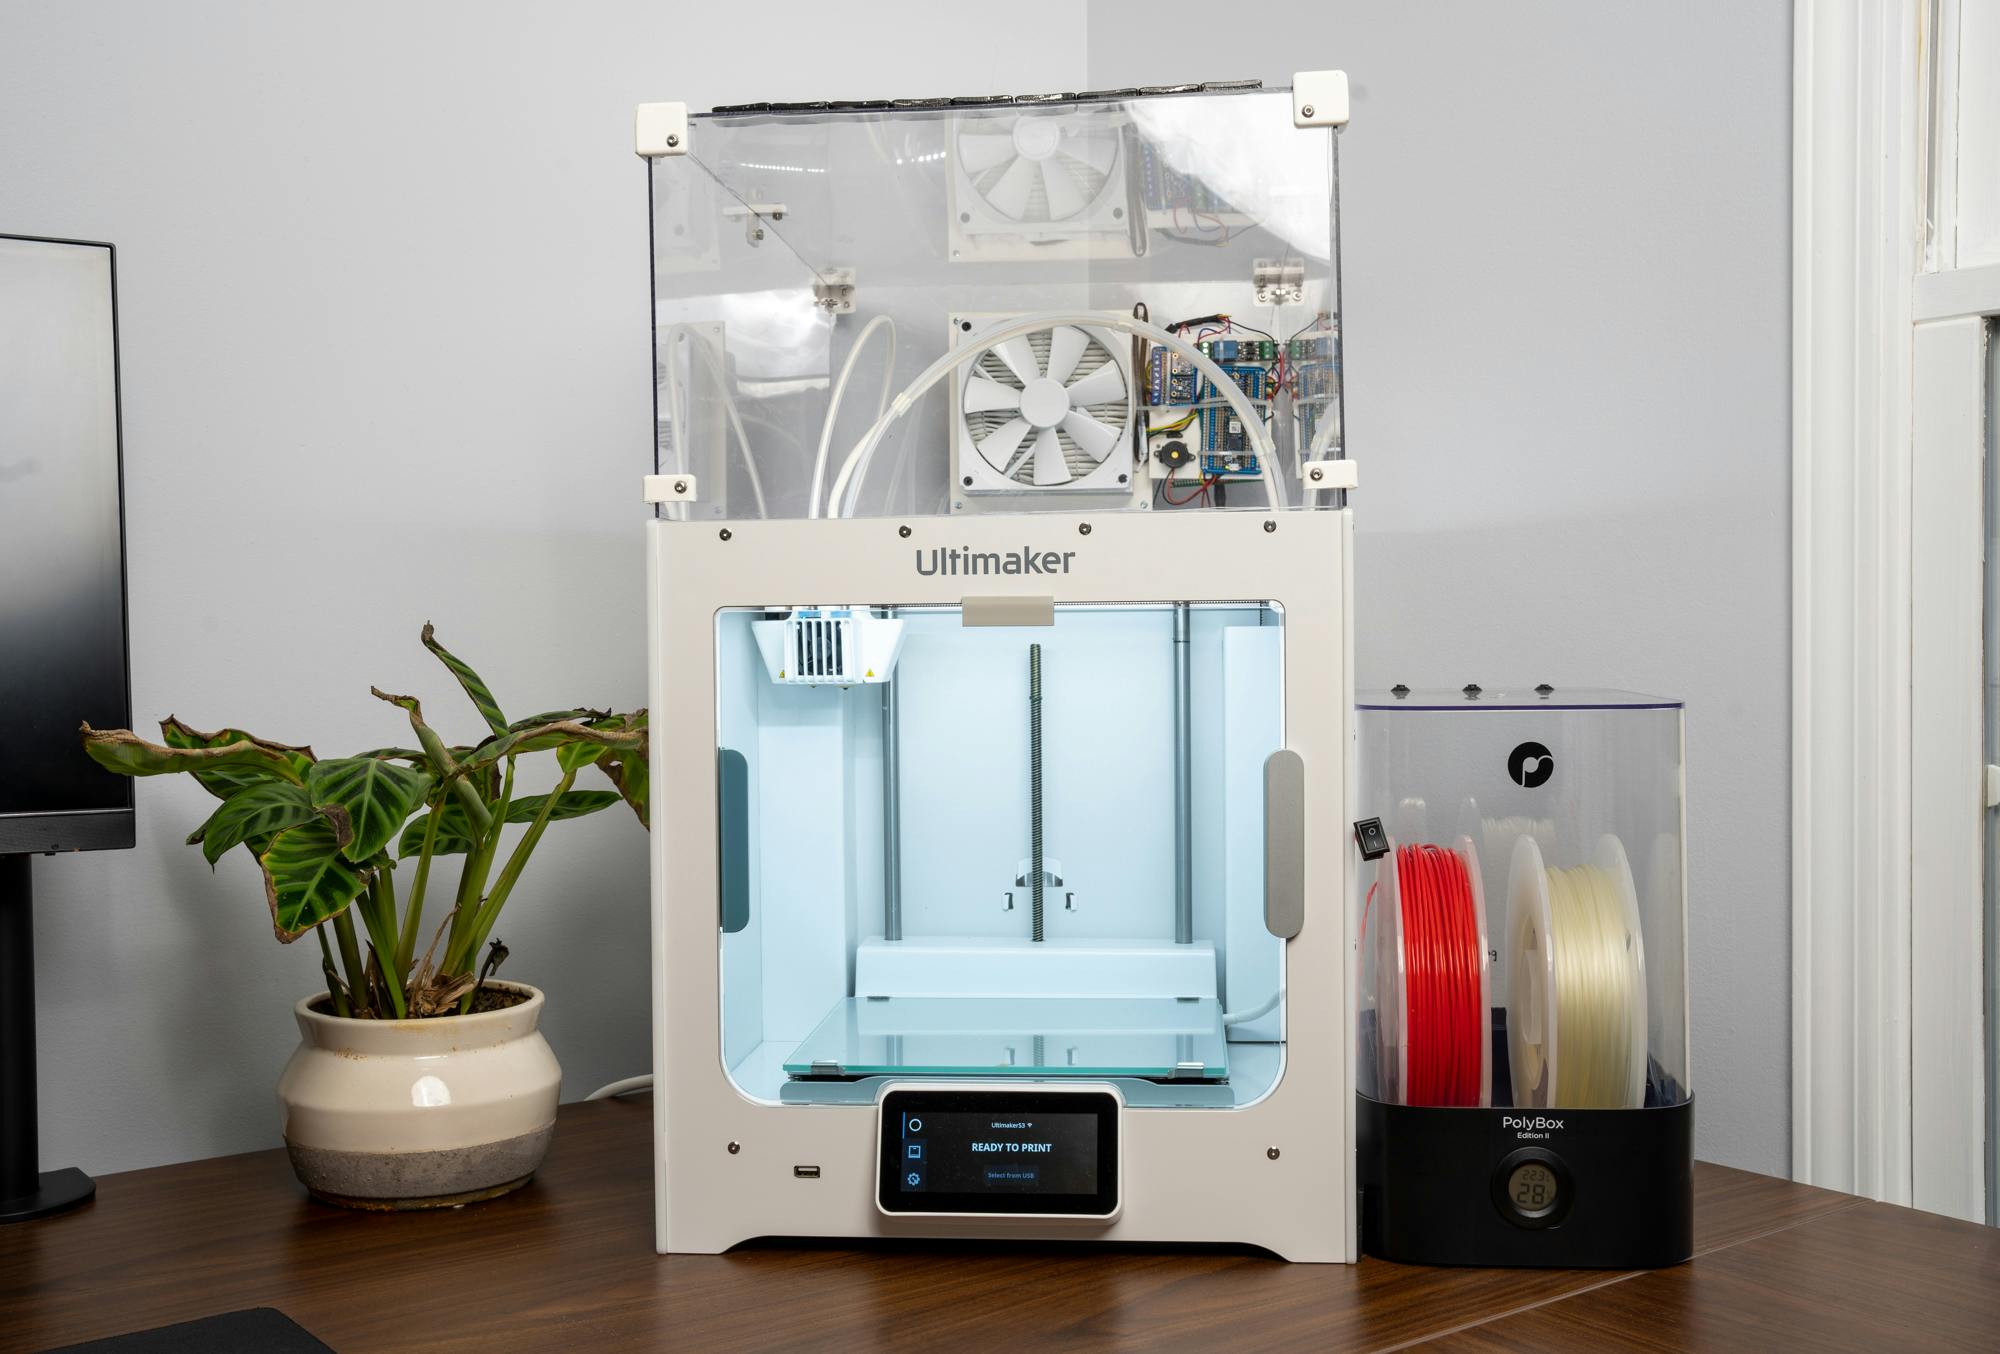
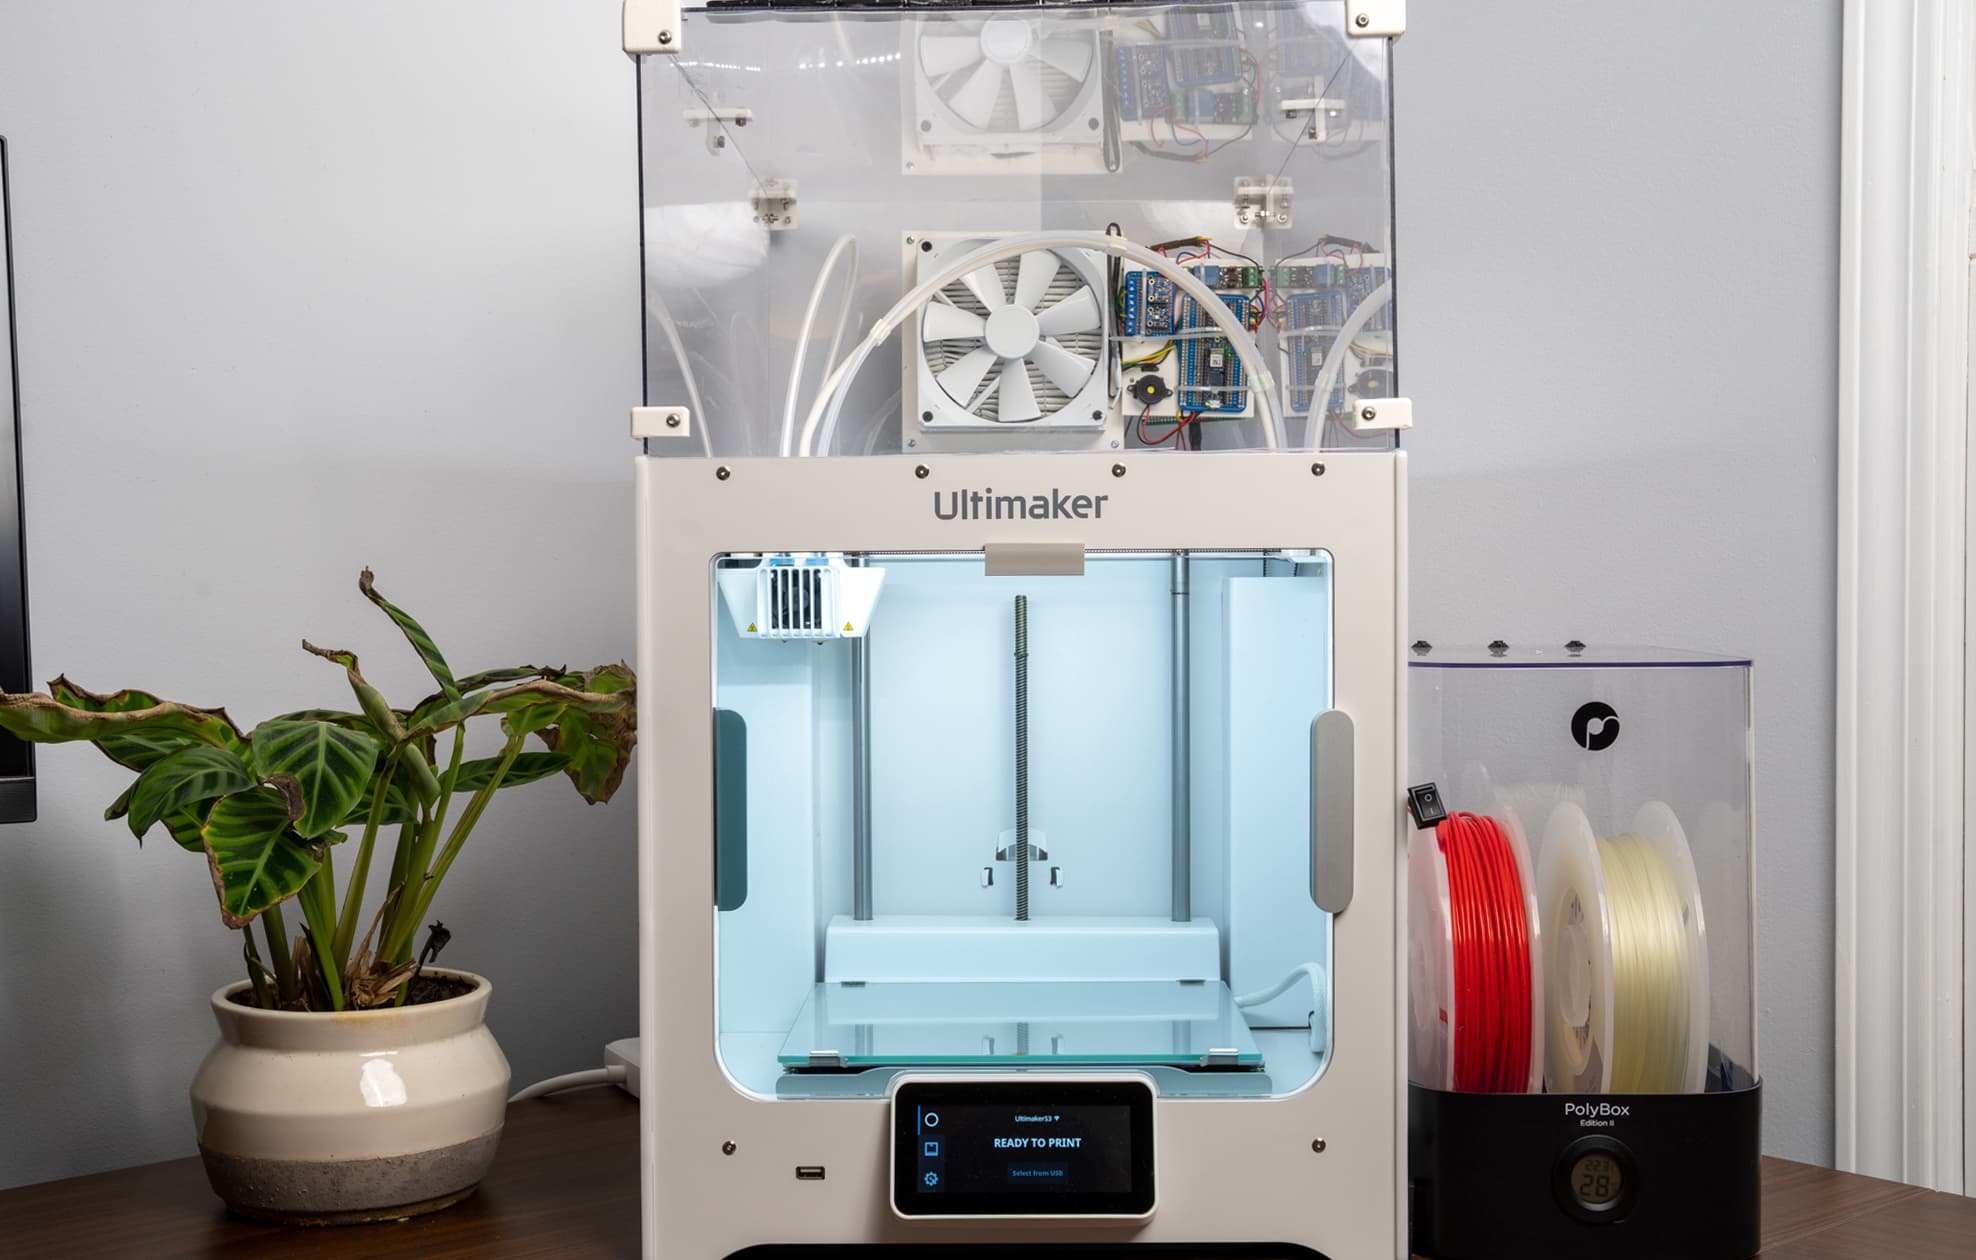
I'm a firm believer in "measure twice, cut once", so I started with a sketch of the system. I measured my 3D printer - an Ultimaker S3 - and jotted down a plan for the top enclosure. Then, I sketched out what components I wanted to use and how they'd connect.
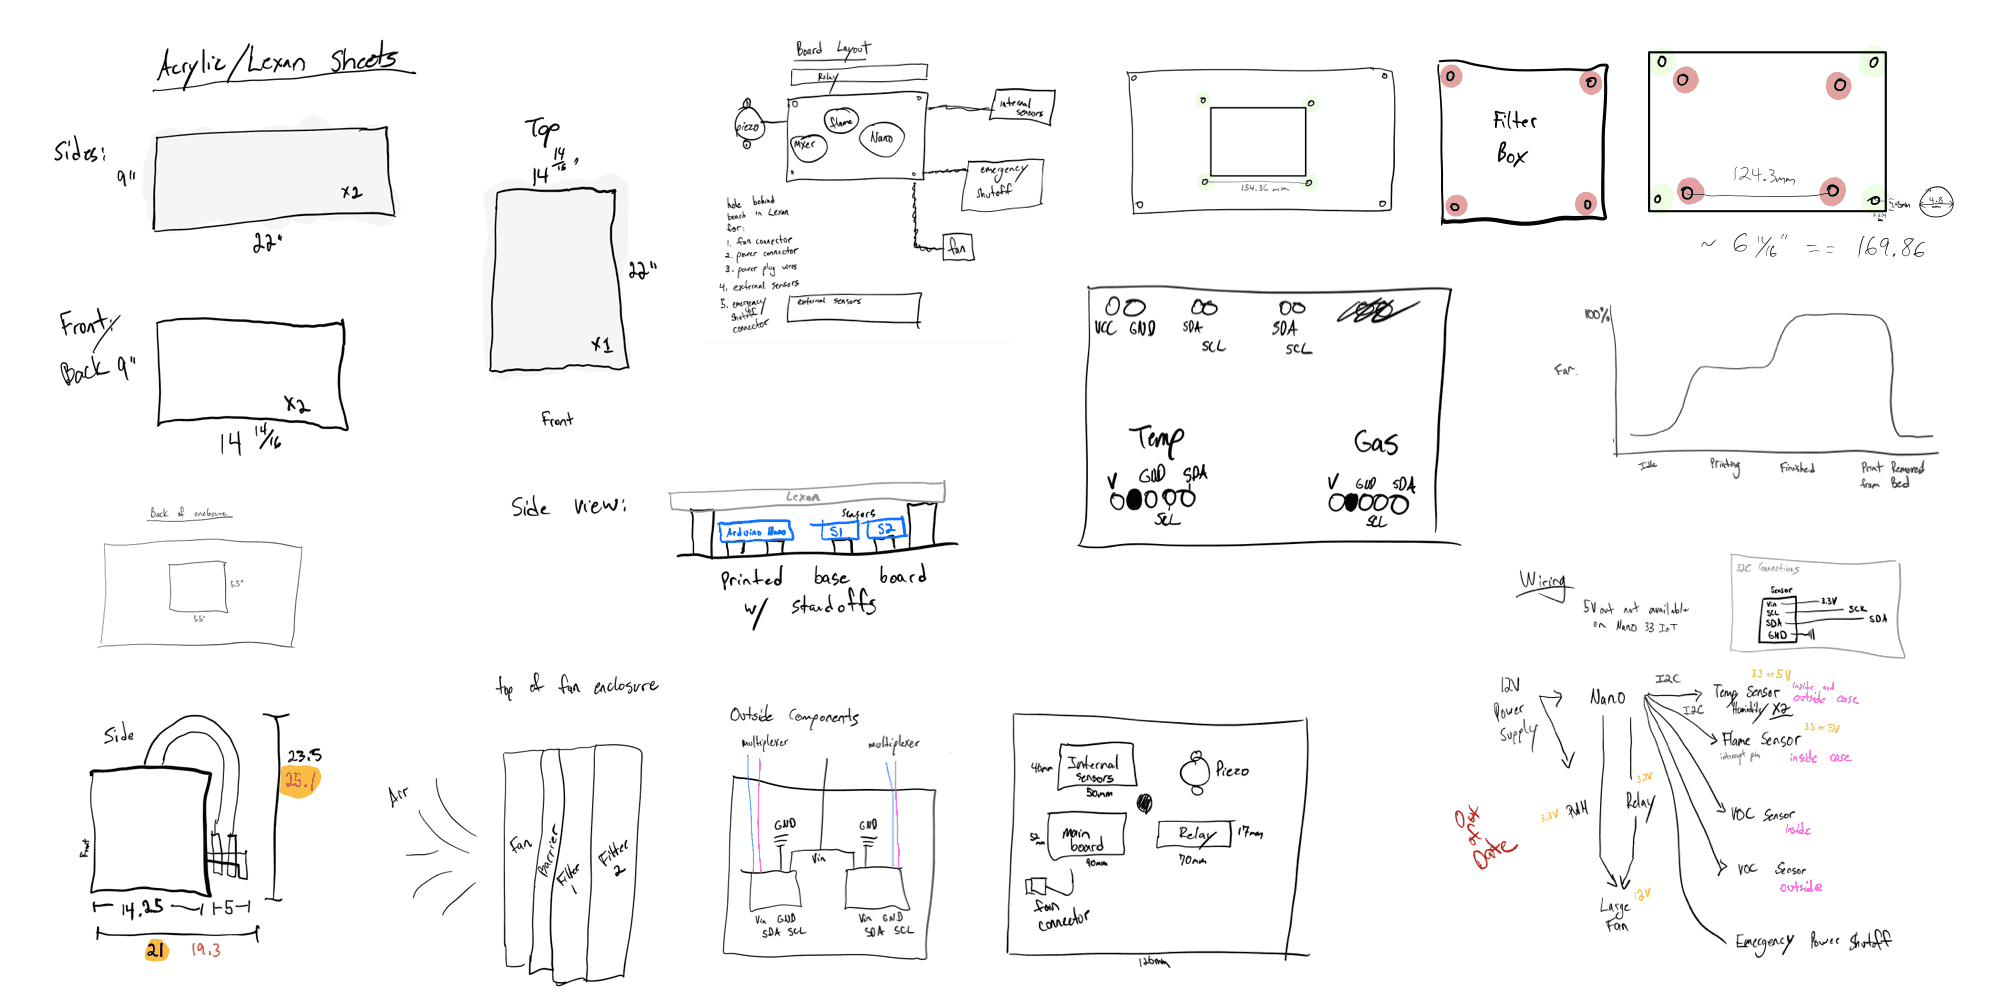
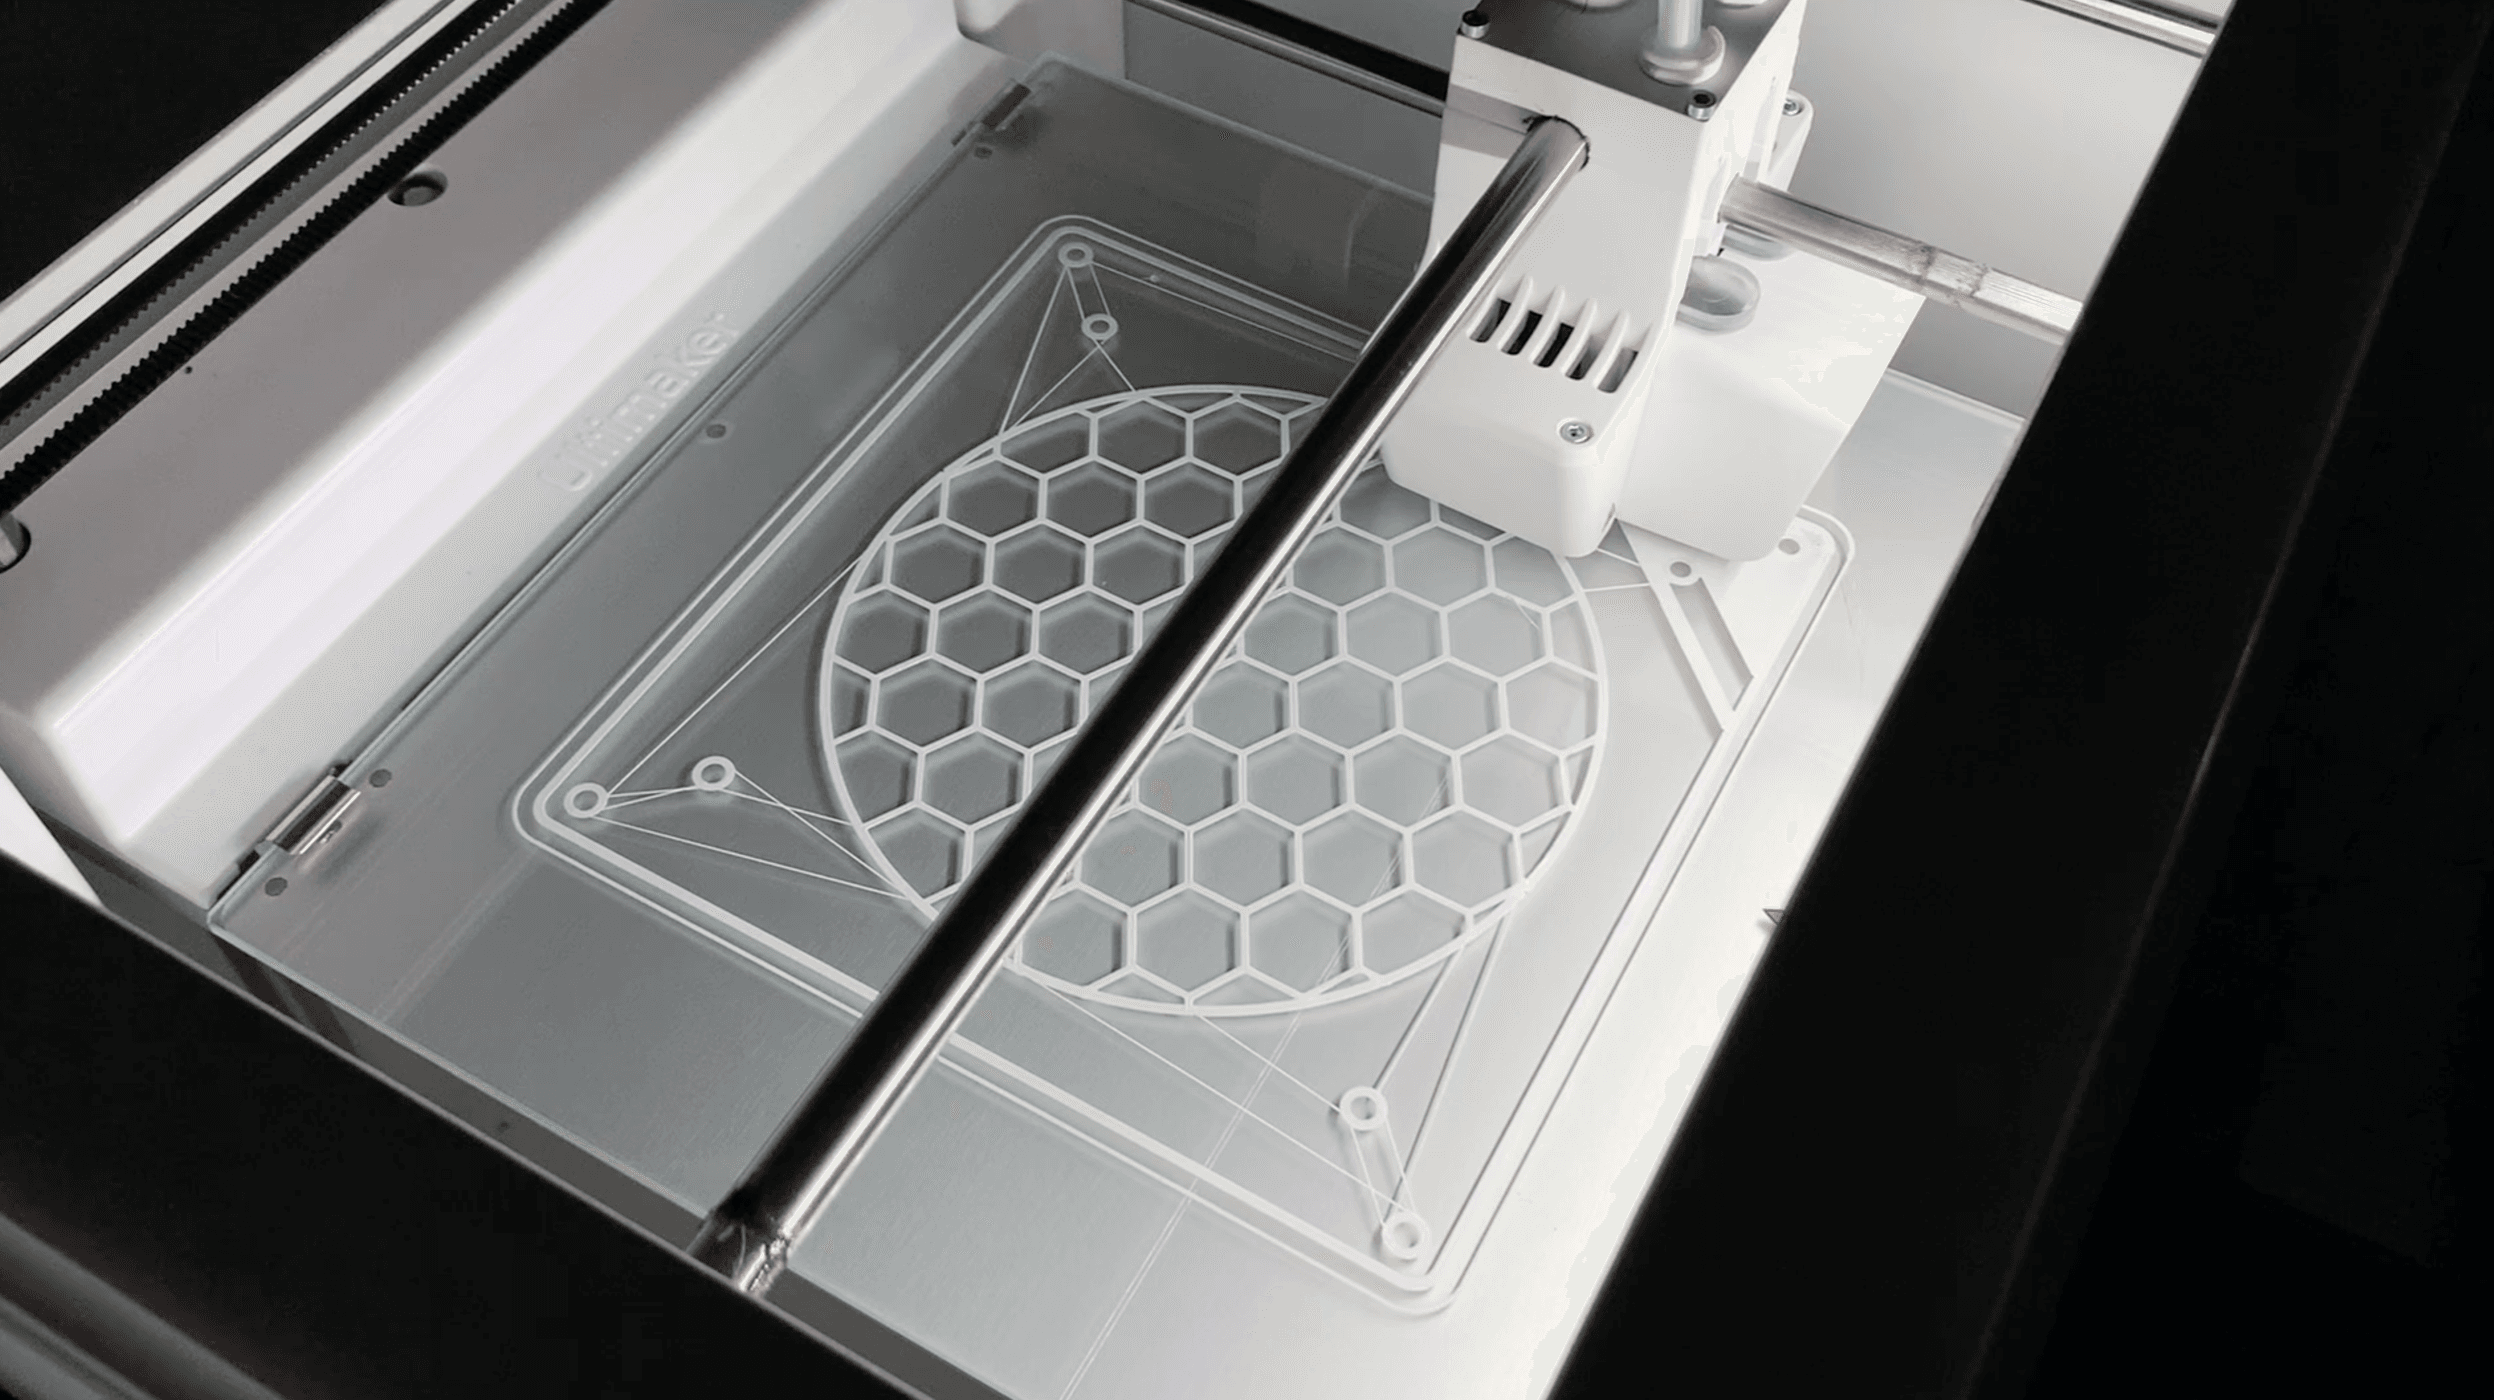
Next, I printed the parts I needed to assemble the box and the filtration panel. Isn't it cool how a printer can print things to augment itself? Next step: Skynet.
Building the Partial Enclosure
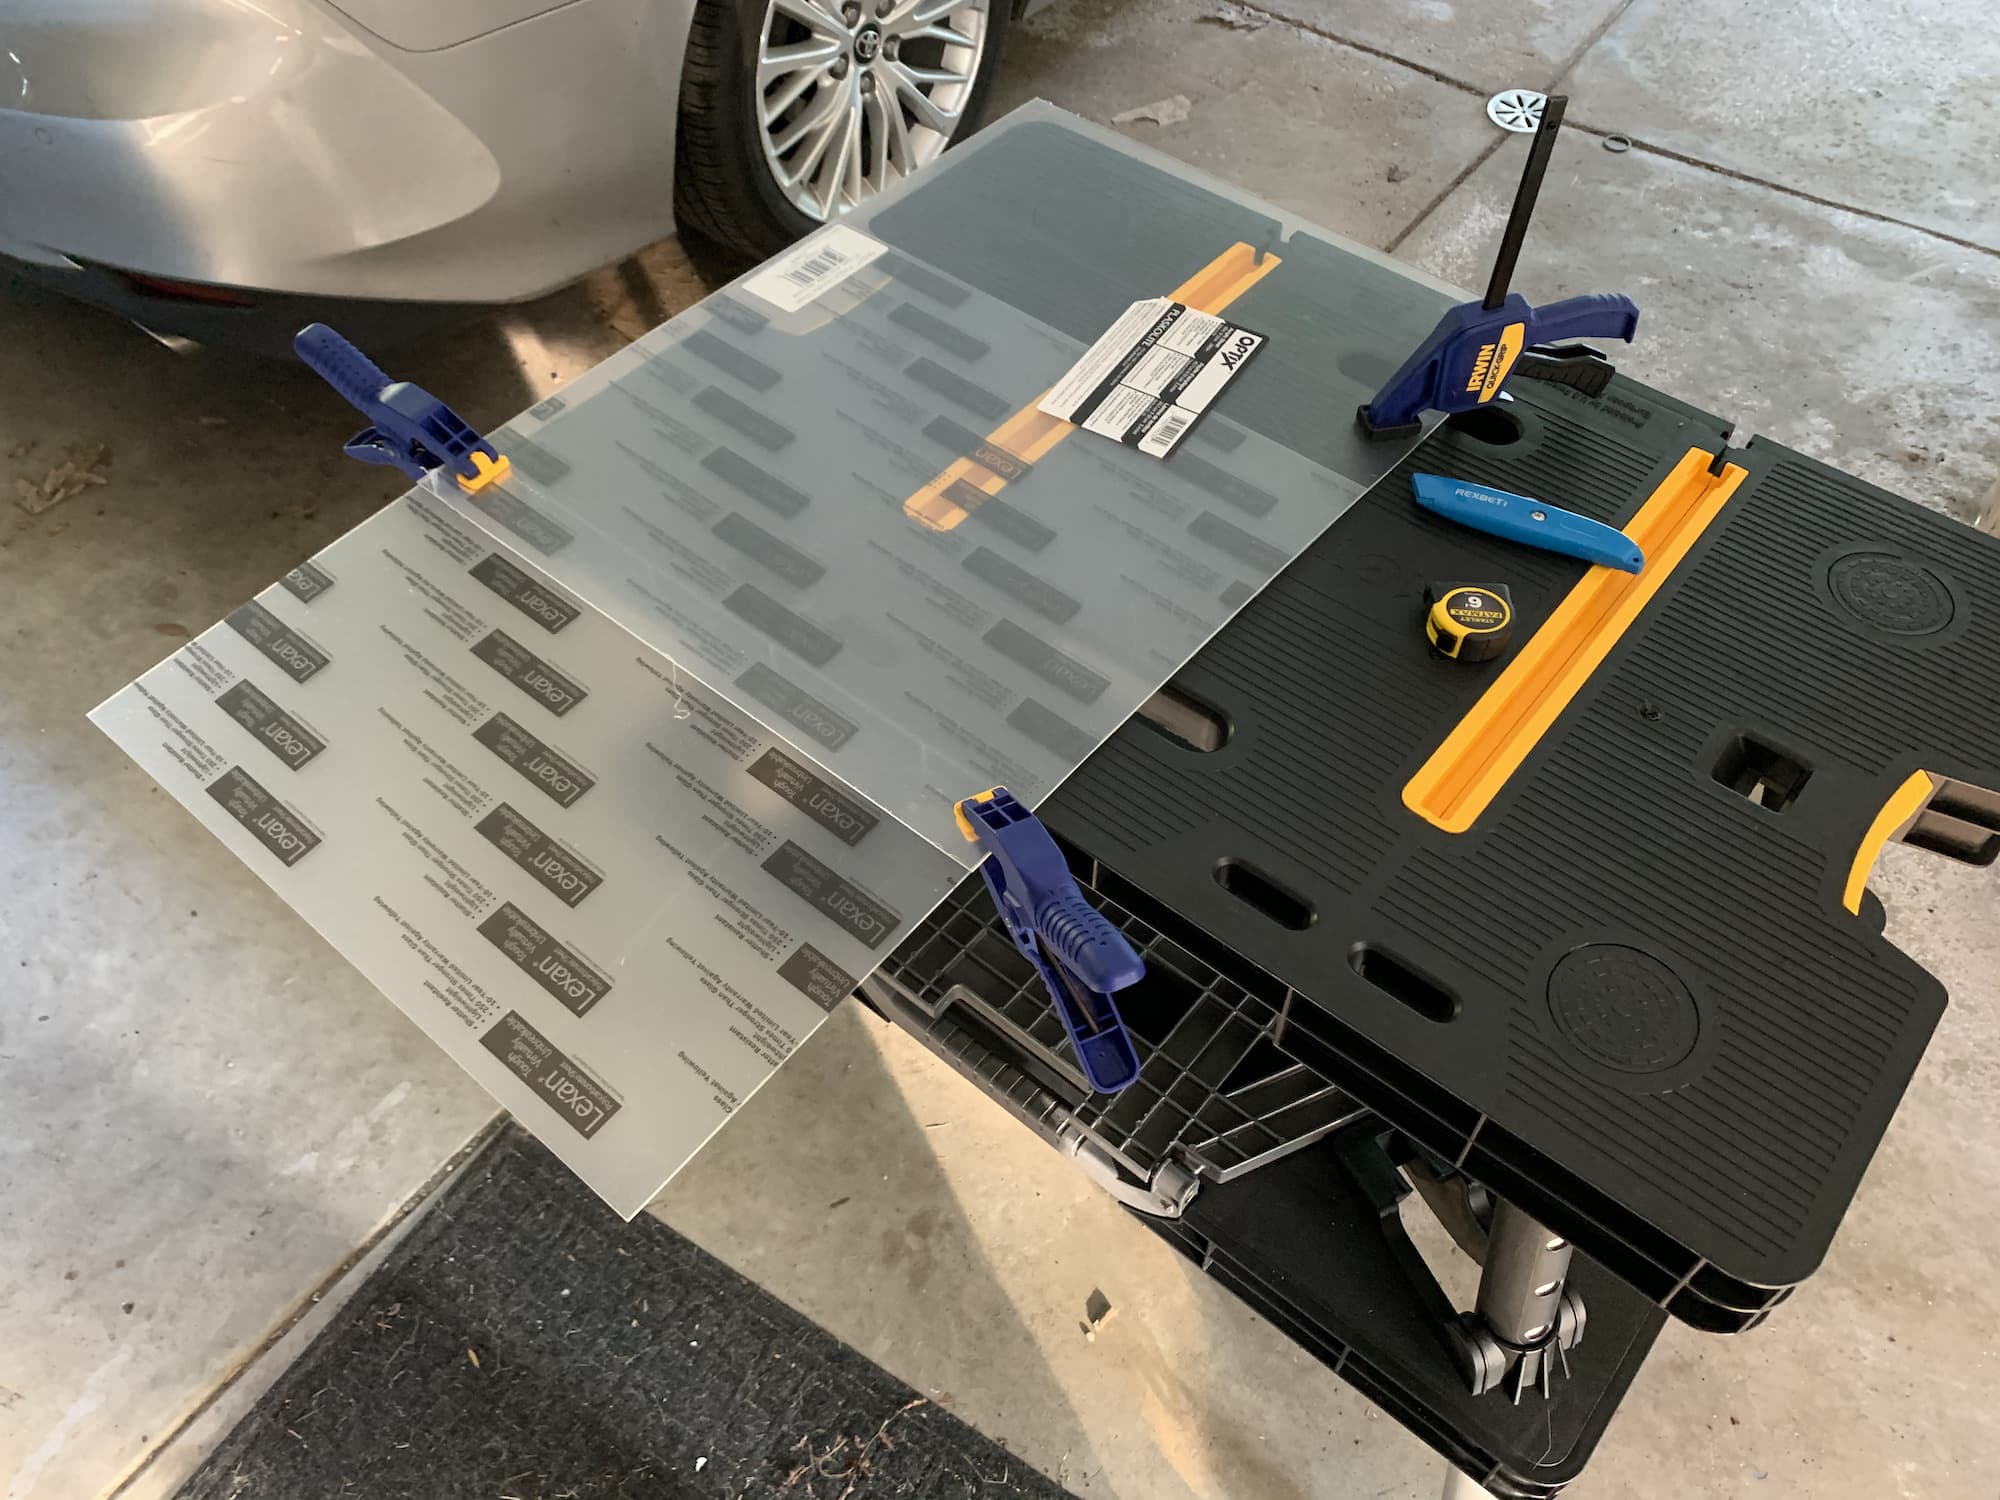
I bought some Lexan from Home Depot, scored the sheets with a box cutter, and snapped them off using the edge of my workbench. It worked surprisingly well.
If you plan to do this at home, wear protective gear, including glasses.
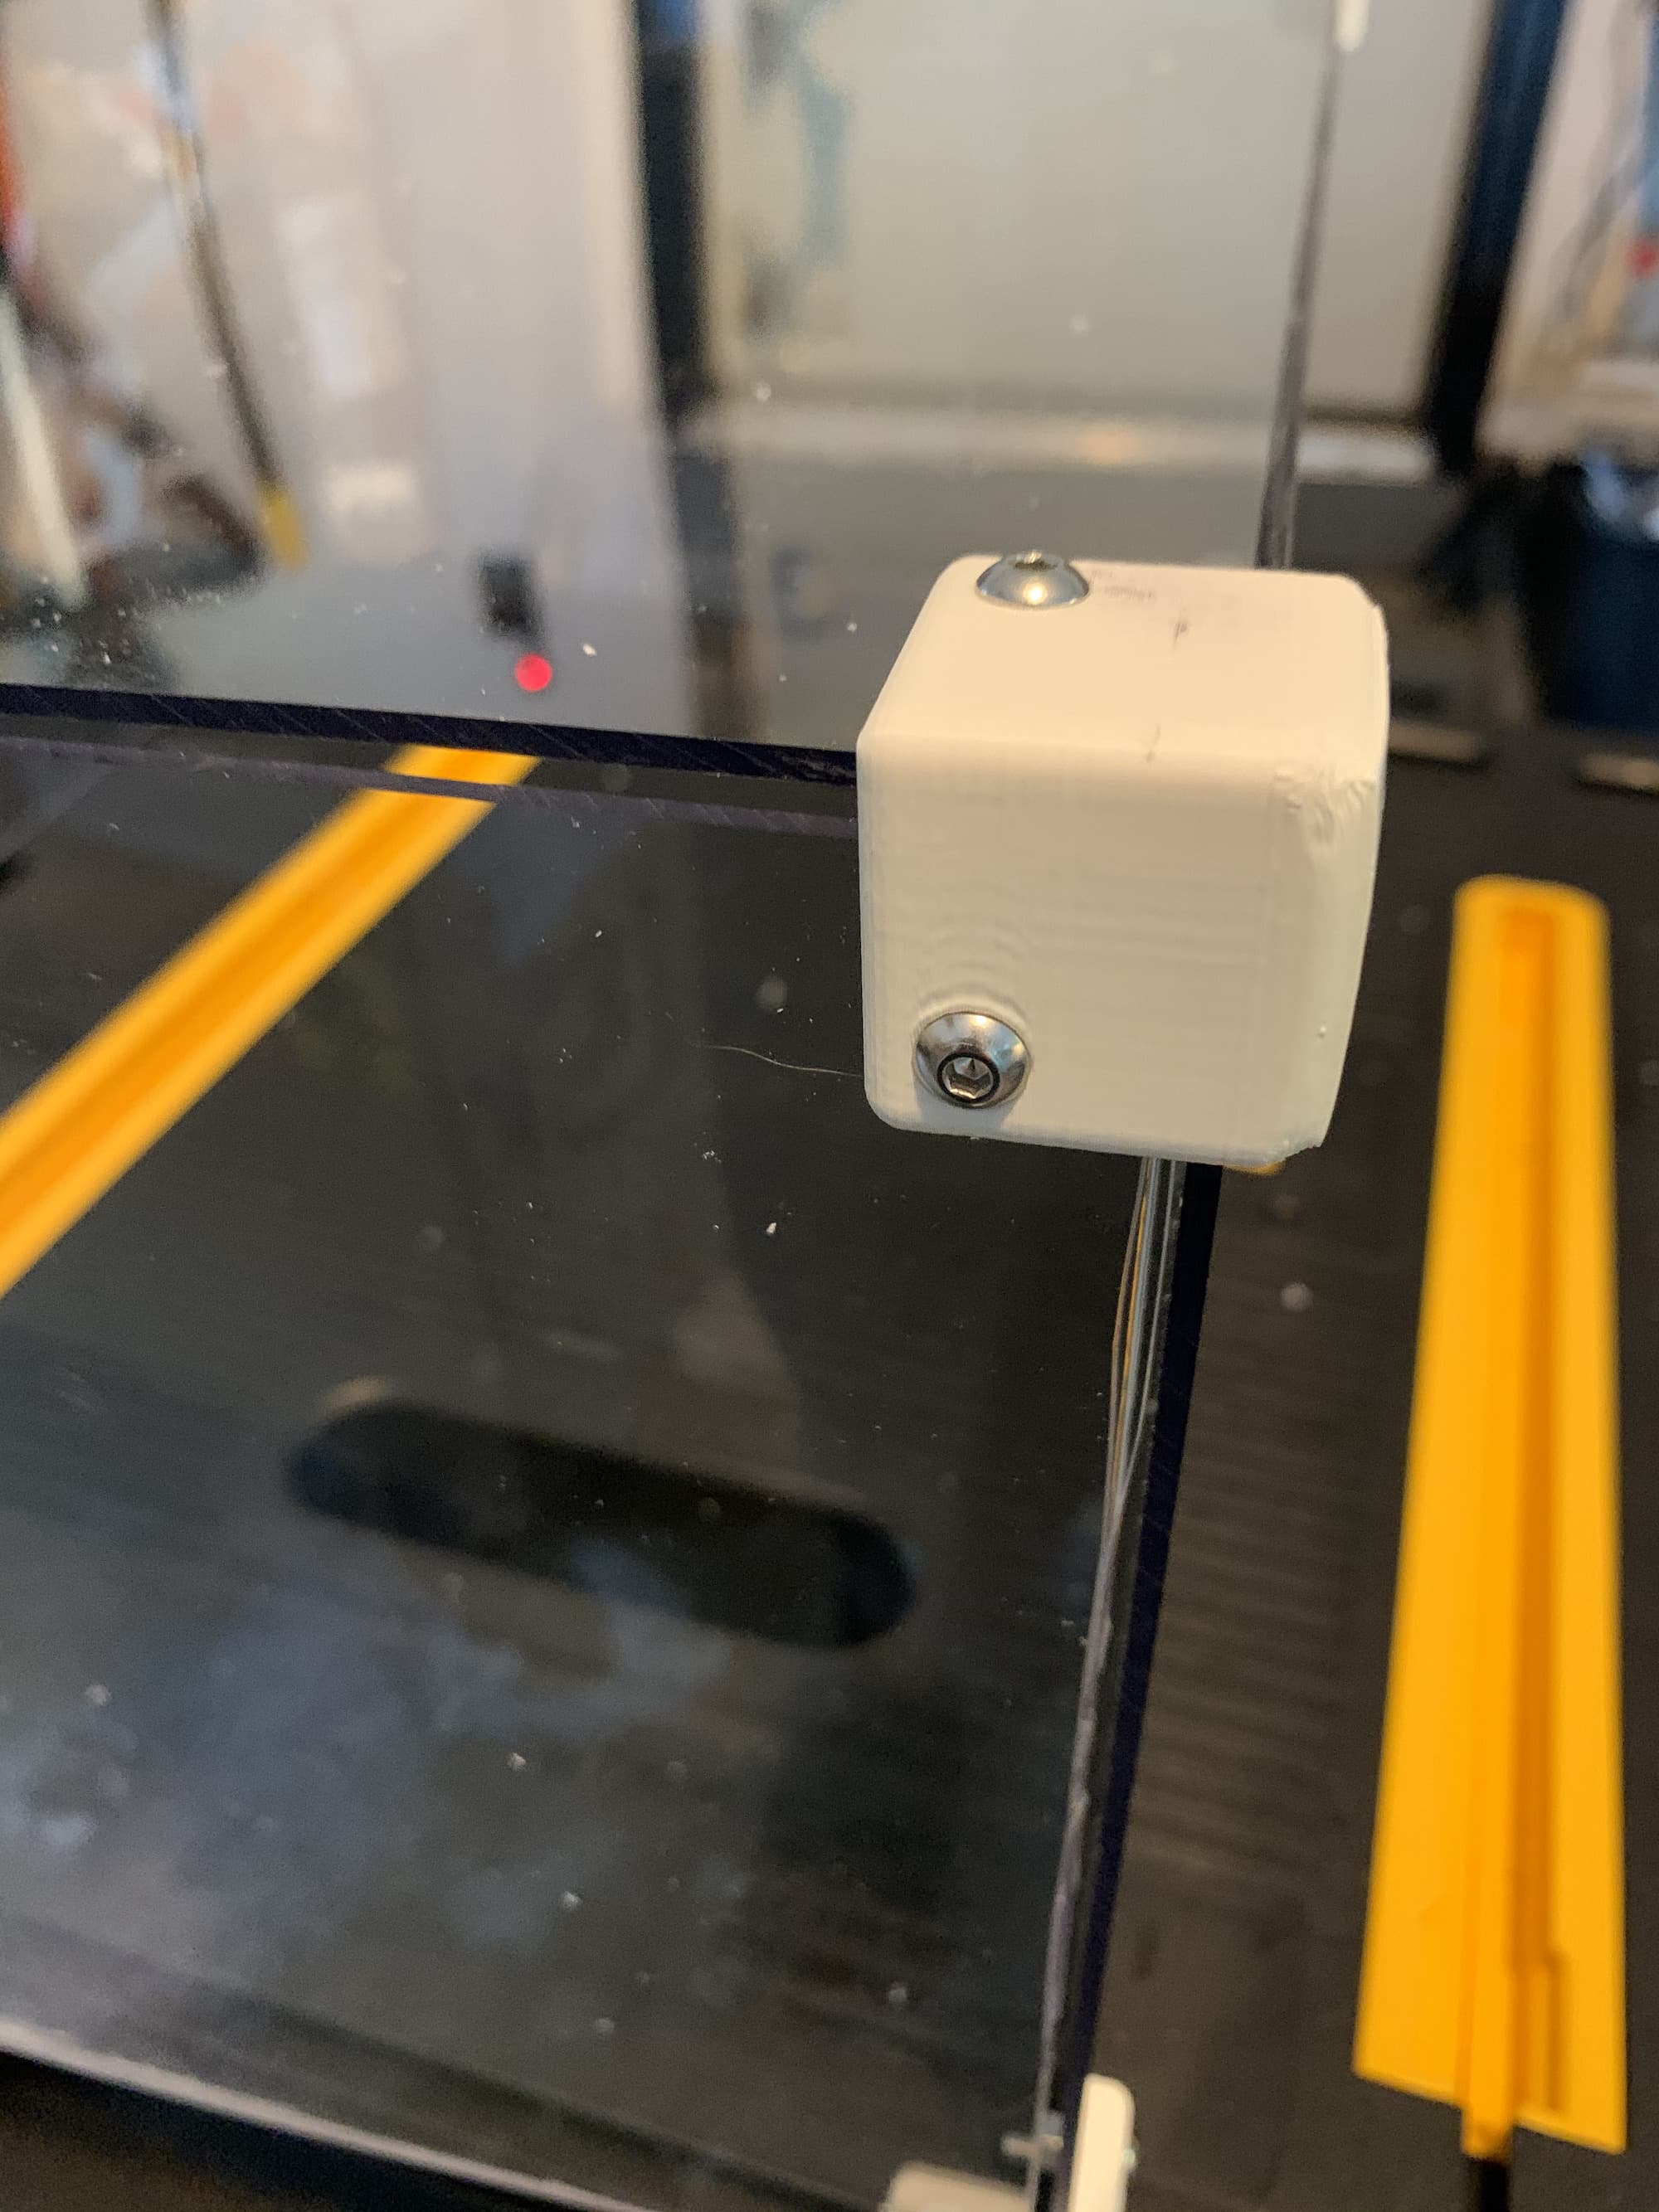
After cutting the Lexan, I connected all the pieces with 3D-printed parts. Special thanks to Hans Peter for building something similar and releasing the designs on Thingiverse.
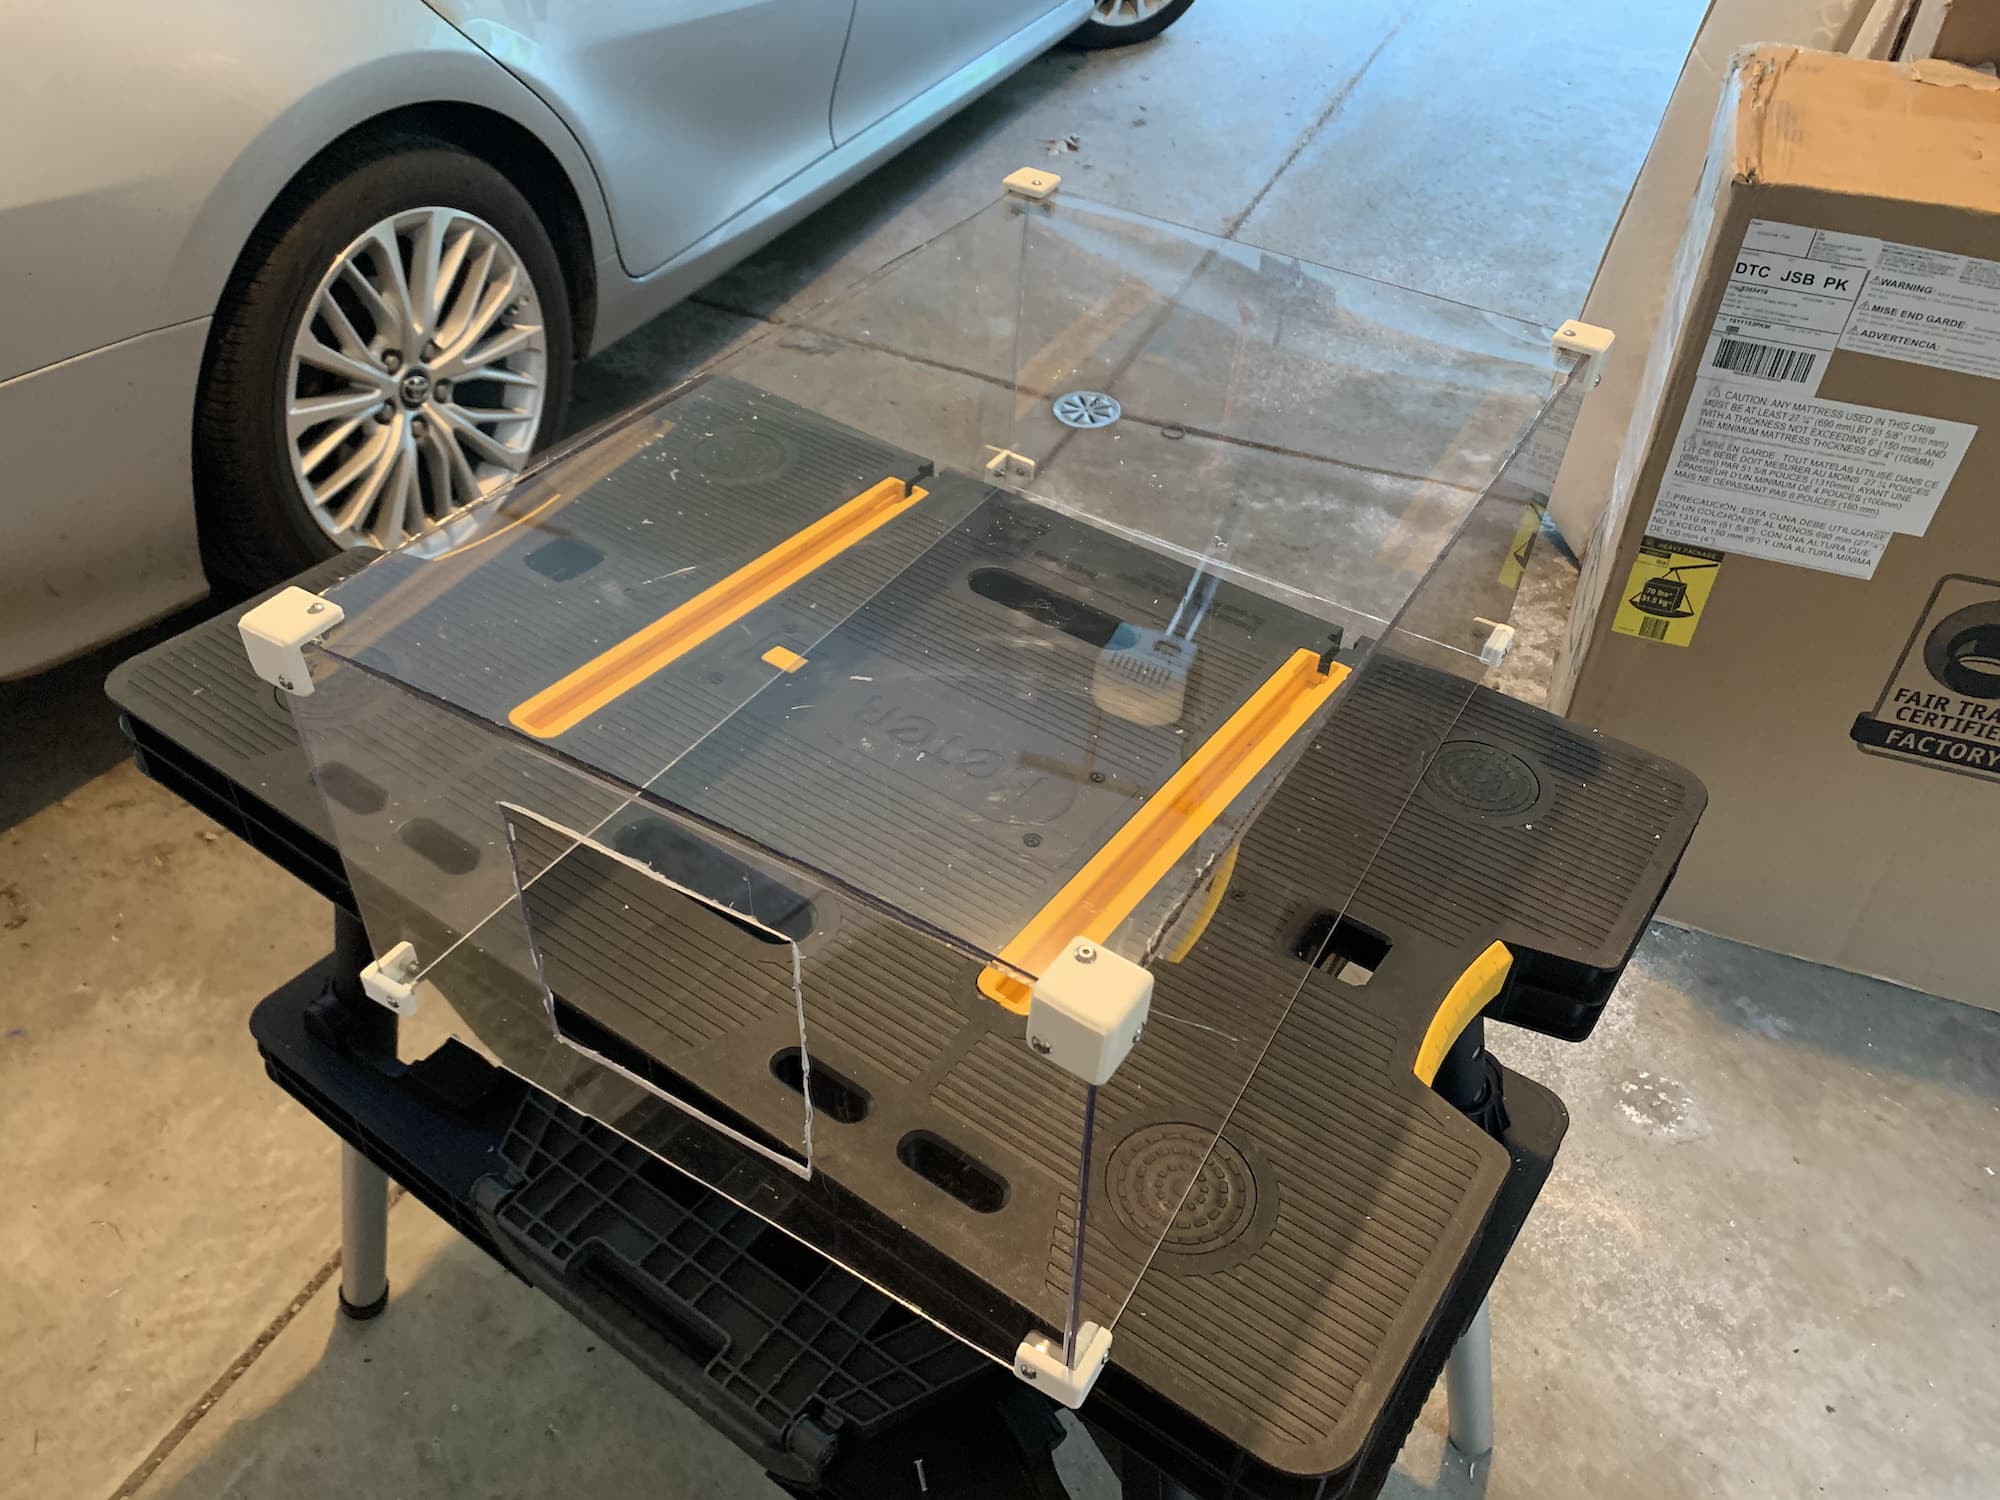
Now that I had the shell, it was time for the guts: the electronics.
Wiring Everything Up
The first rule of wiring electronics is don't accidentally put 12V into a pin that expects 5V. You'll get lots of smoke and heat and generally feel bad. After you've learned that rule, continue reading.
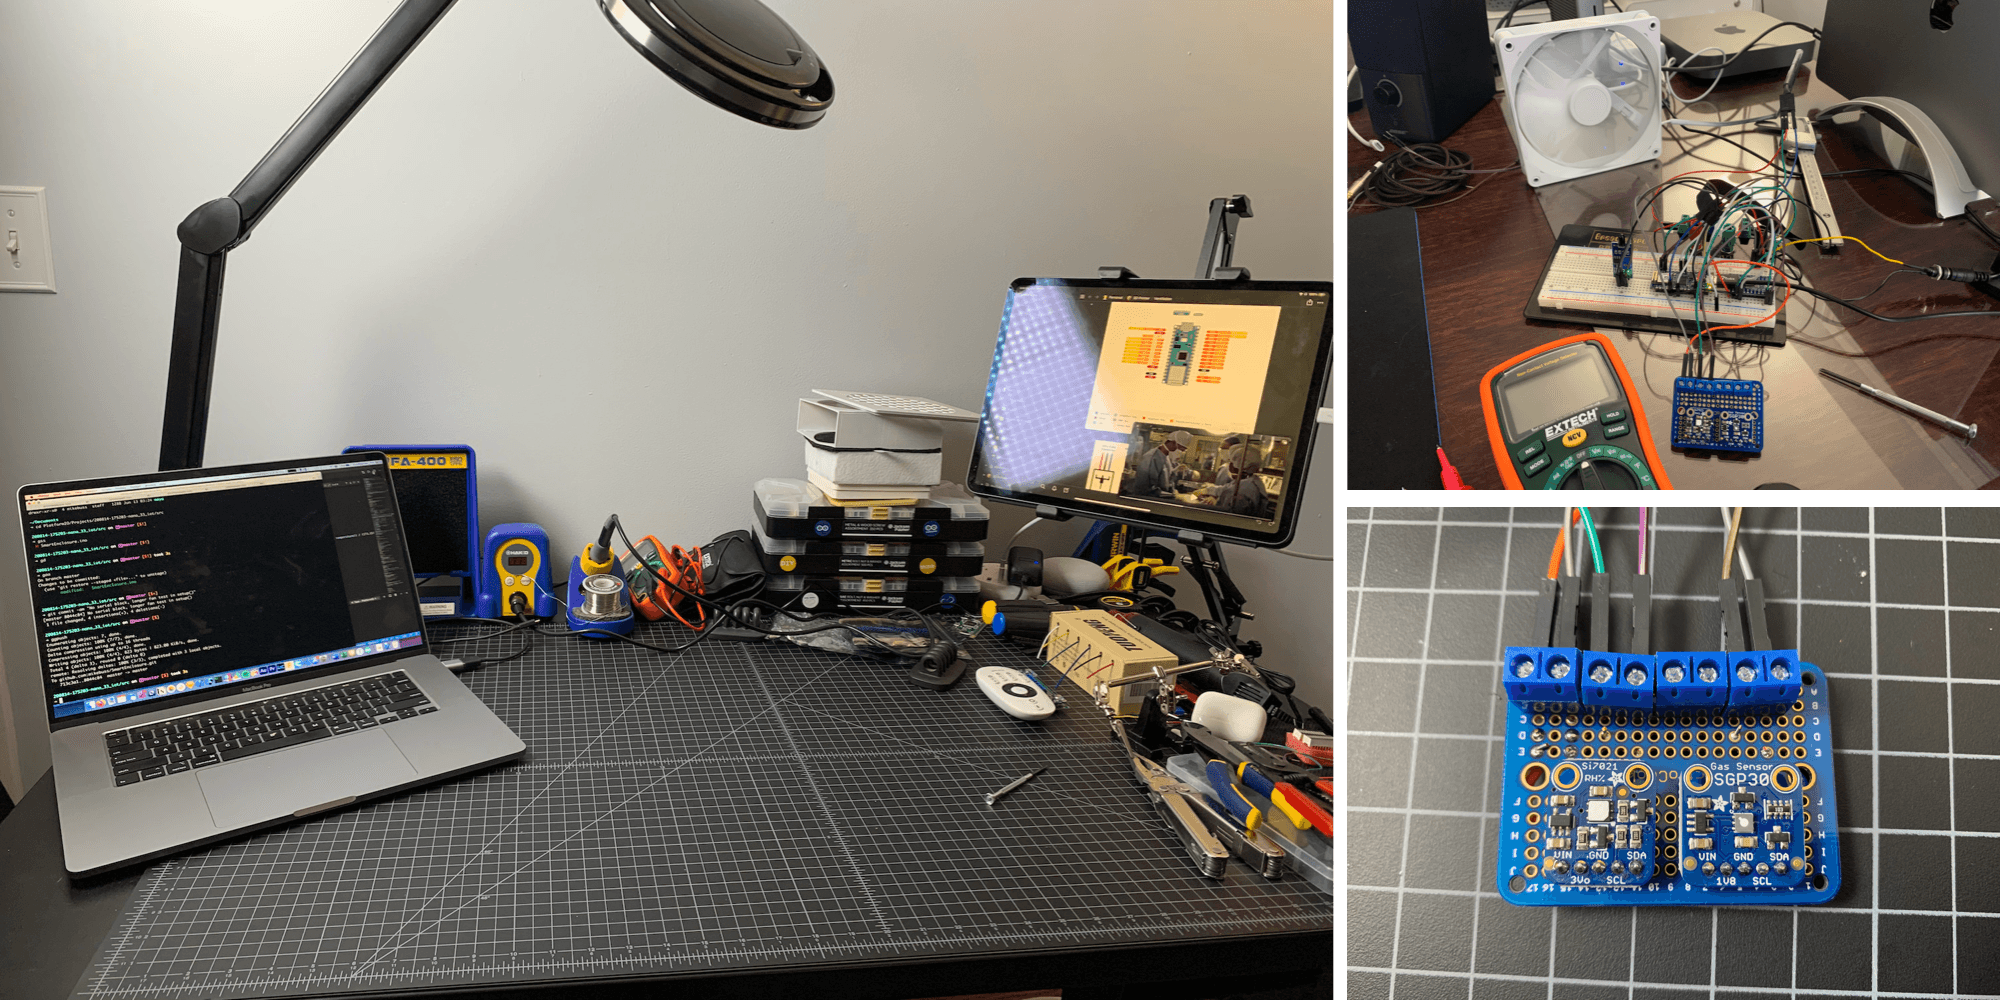
I managed to assemble a gaggle of electronics that all needed power. Some needed 12V to work. Others needed 3.3V. Some were controlled with pulse width modulation, others with I2C. Getting them powered and conducting a symphony of functions was, in my opinion, the best part of this project.
I started with a 12V 3A power supply. This, wired into my Arduino Nano 33 IoT, a relay, and (via the relay) the fan, gave life to the essential components. I could now turn the fan on and off through the Arduino, but only at full speed.
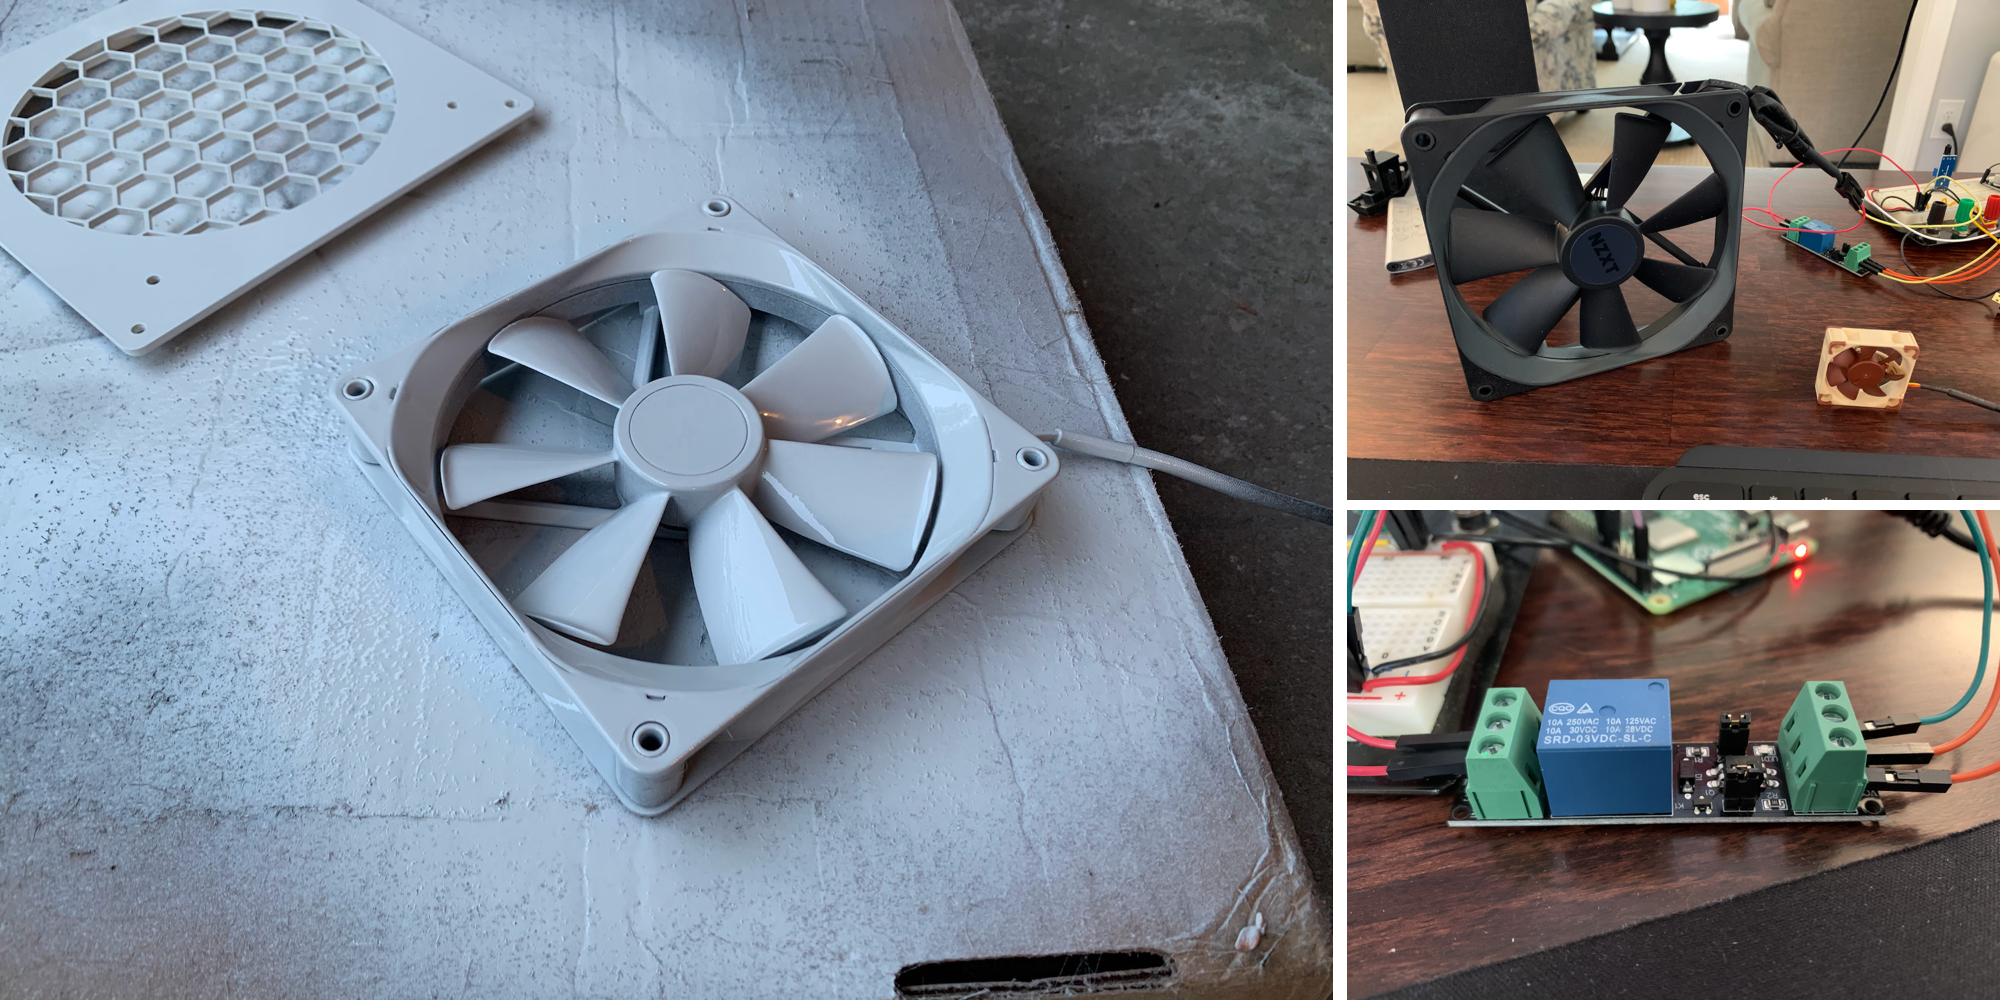
To control the fan's speed, I connected its PWM pin to a PWM pin on the Arduino. It took some math to change the Arduino's built-in PWM frequency to 25 kHz, but the slower fan speed significantly reduced noise.
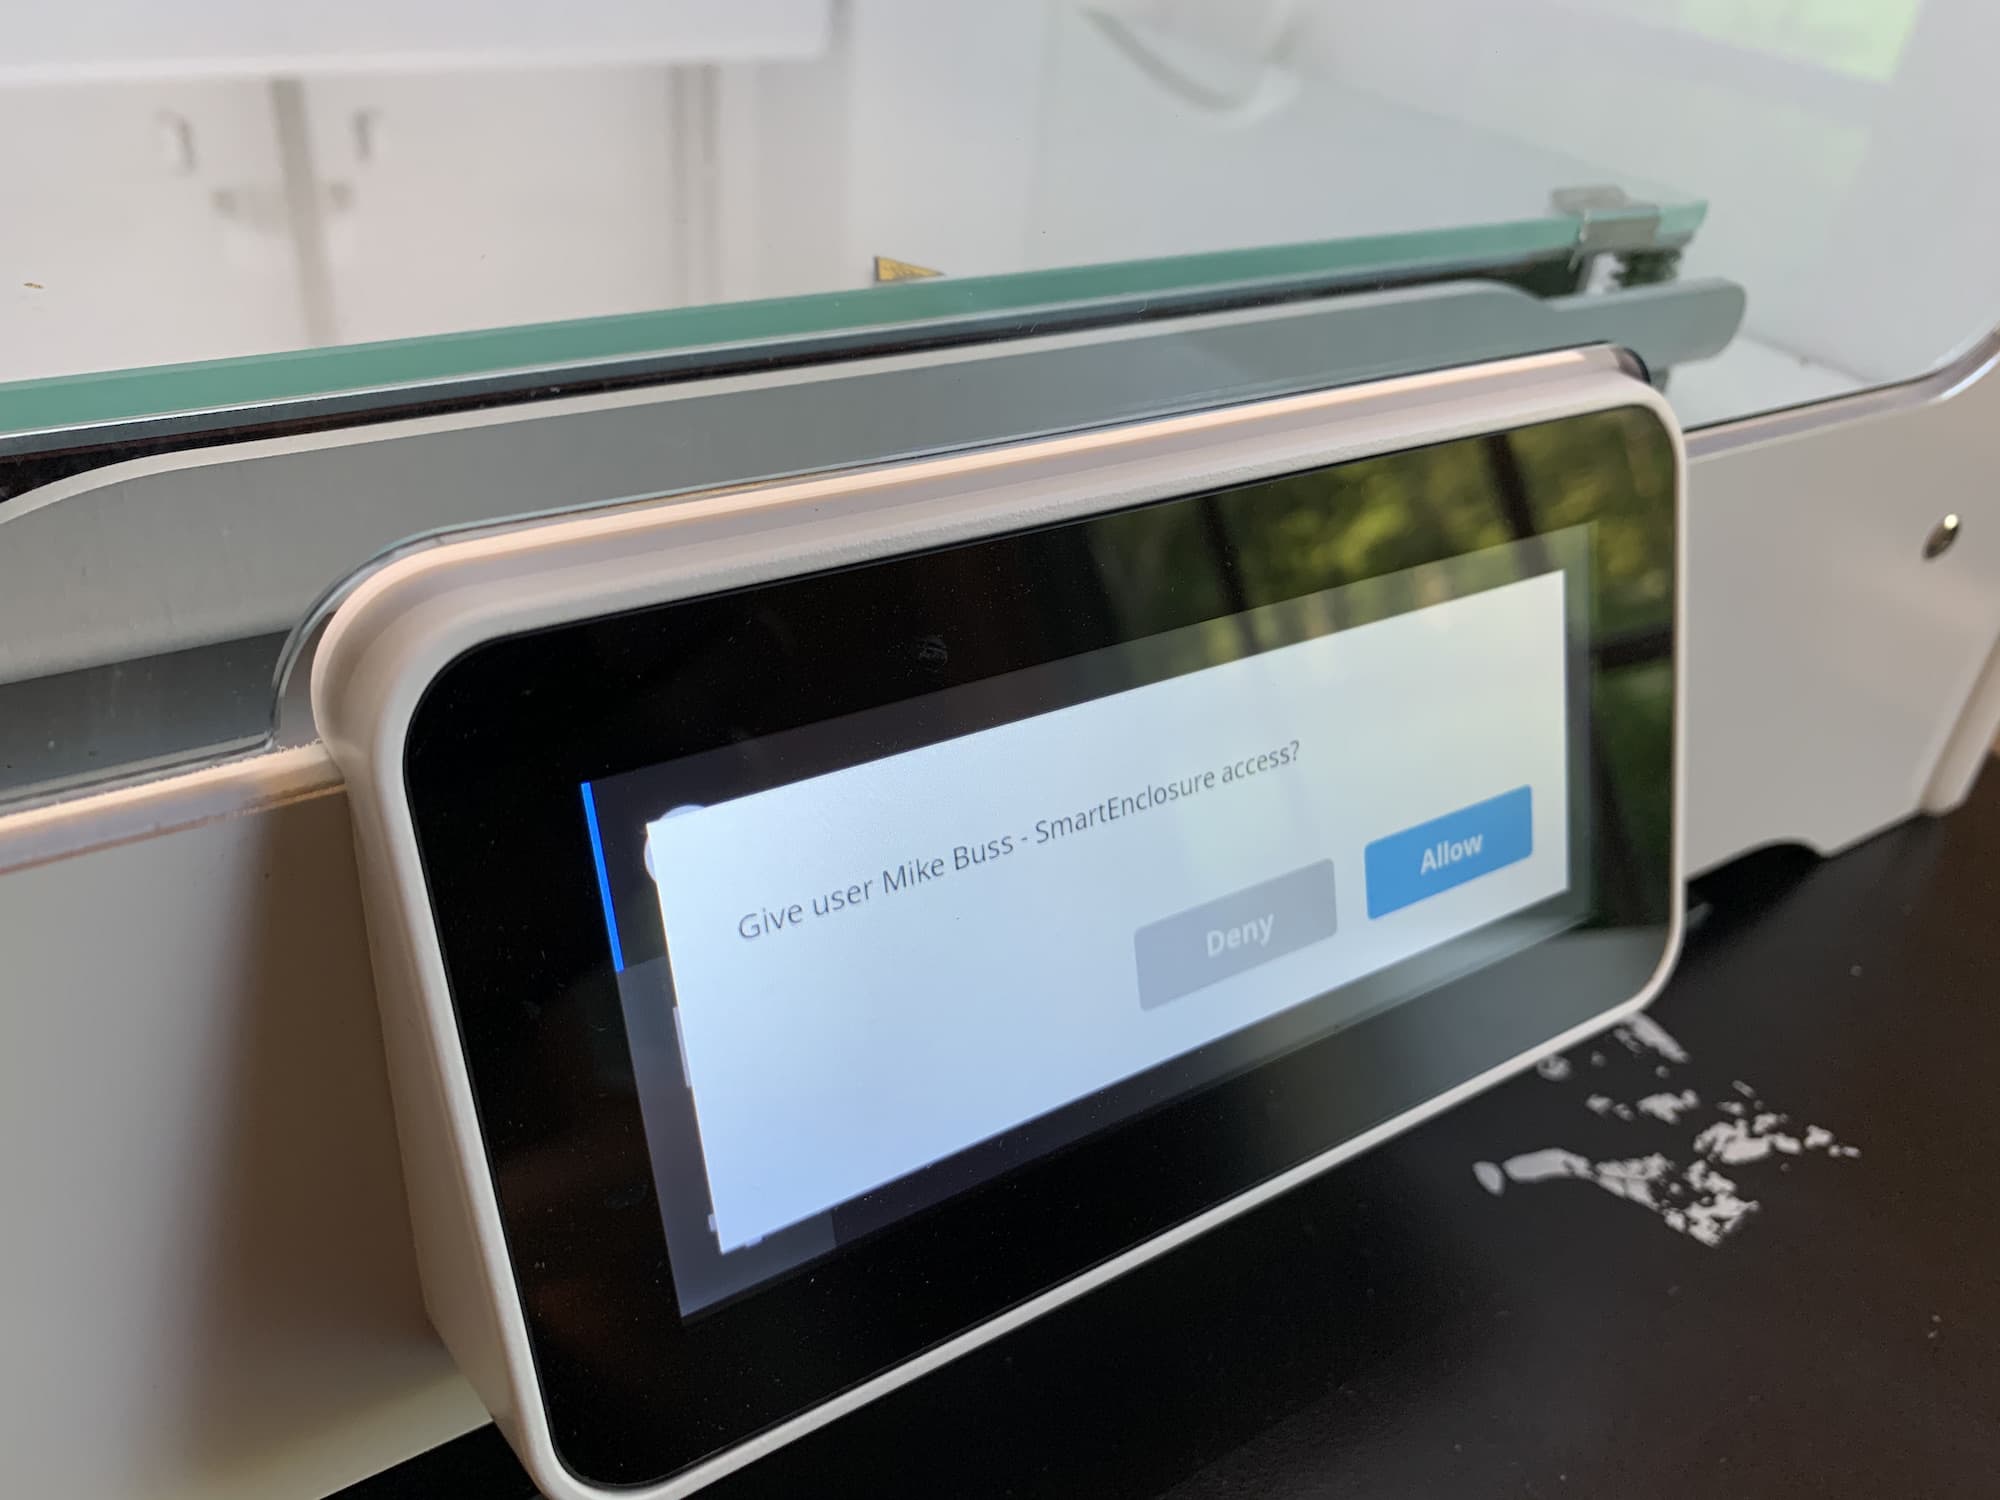
Now that the Arduino could control the fan, I wanted to have it start and stop automatically. To do this, I used the built-in WiFi module poll the Ultimaker S3's API periodically.
Then, because everyone loves data, I added some logging to my creation. I equipped the inside and outside of the chamber with sensors that measure temperature, humidity, and VOC levels. This data is sent over WiFi to a server running on my NAS (a Synology DS918+). Eventually, I'd like to use this data in real-time to control the fan speed, but for now, it's just filed away along with information on what was printed and when.
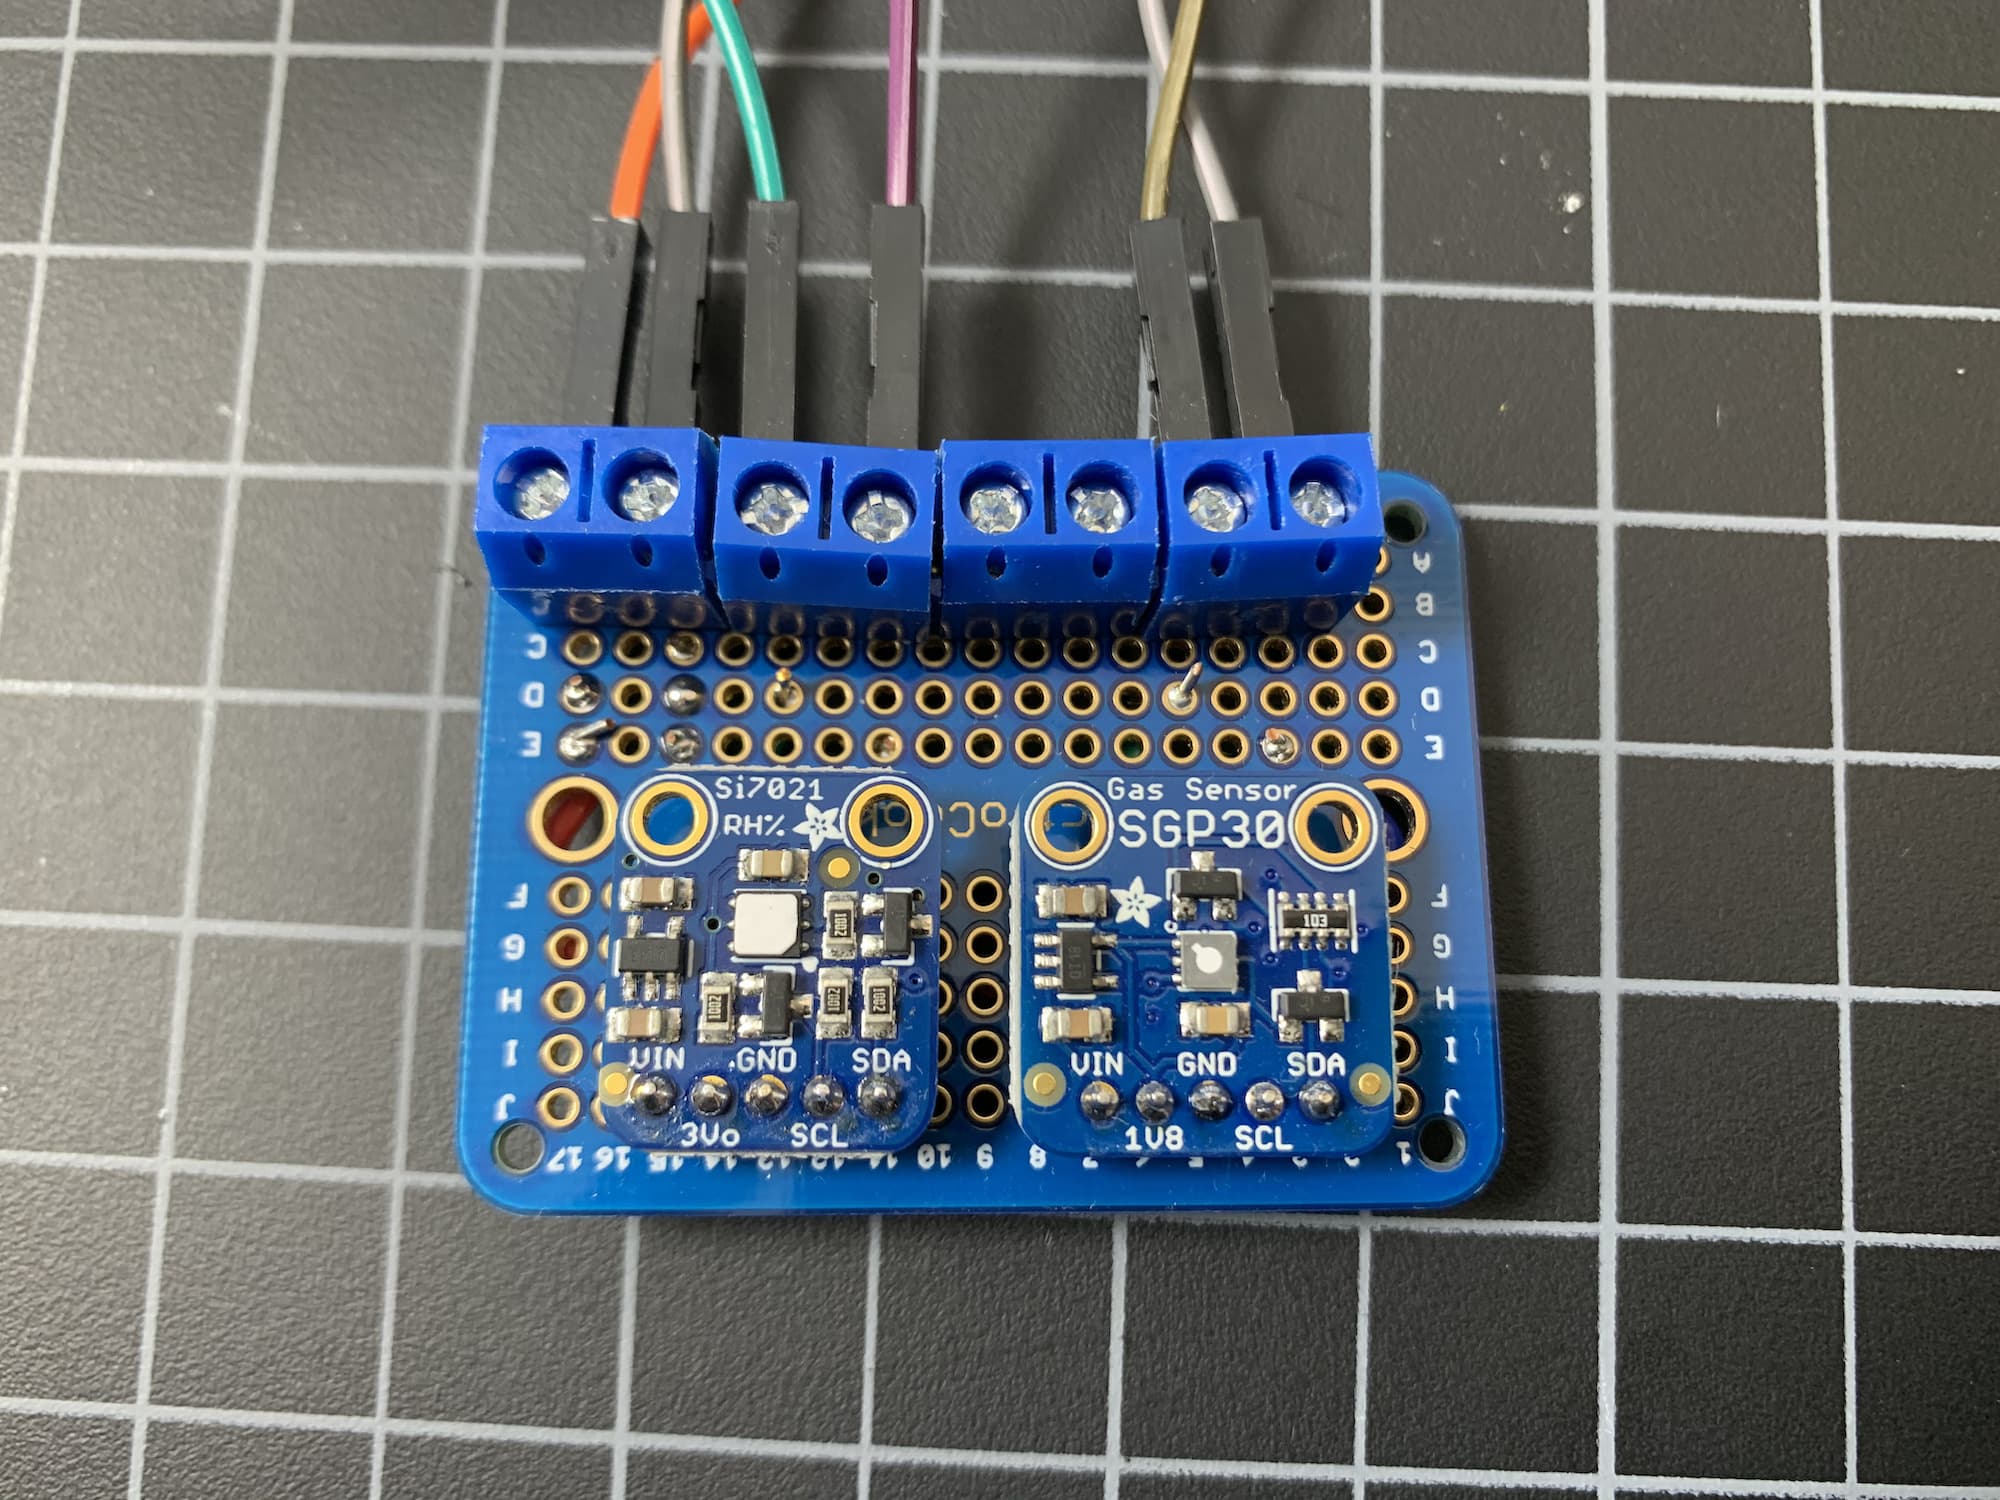
Adding two temperature sensors was a little tricky, considering they share the same hardcoded I2C address. Because of this, the Arduino can't address them individually. My solution was to use an I2C multiplexer to let me switch between sensors and query them individually.
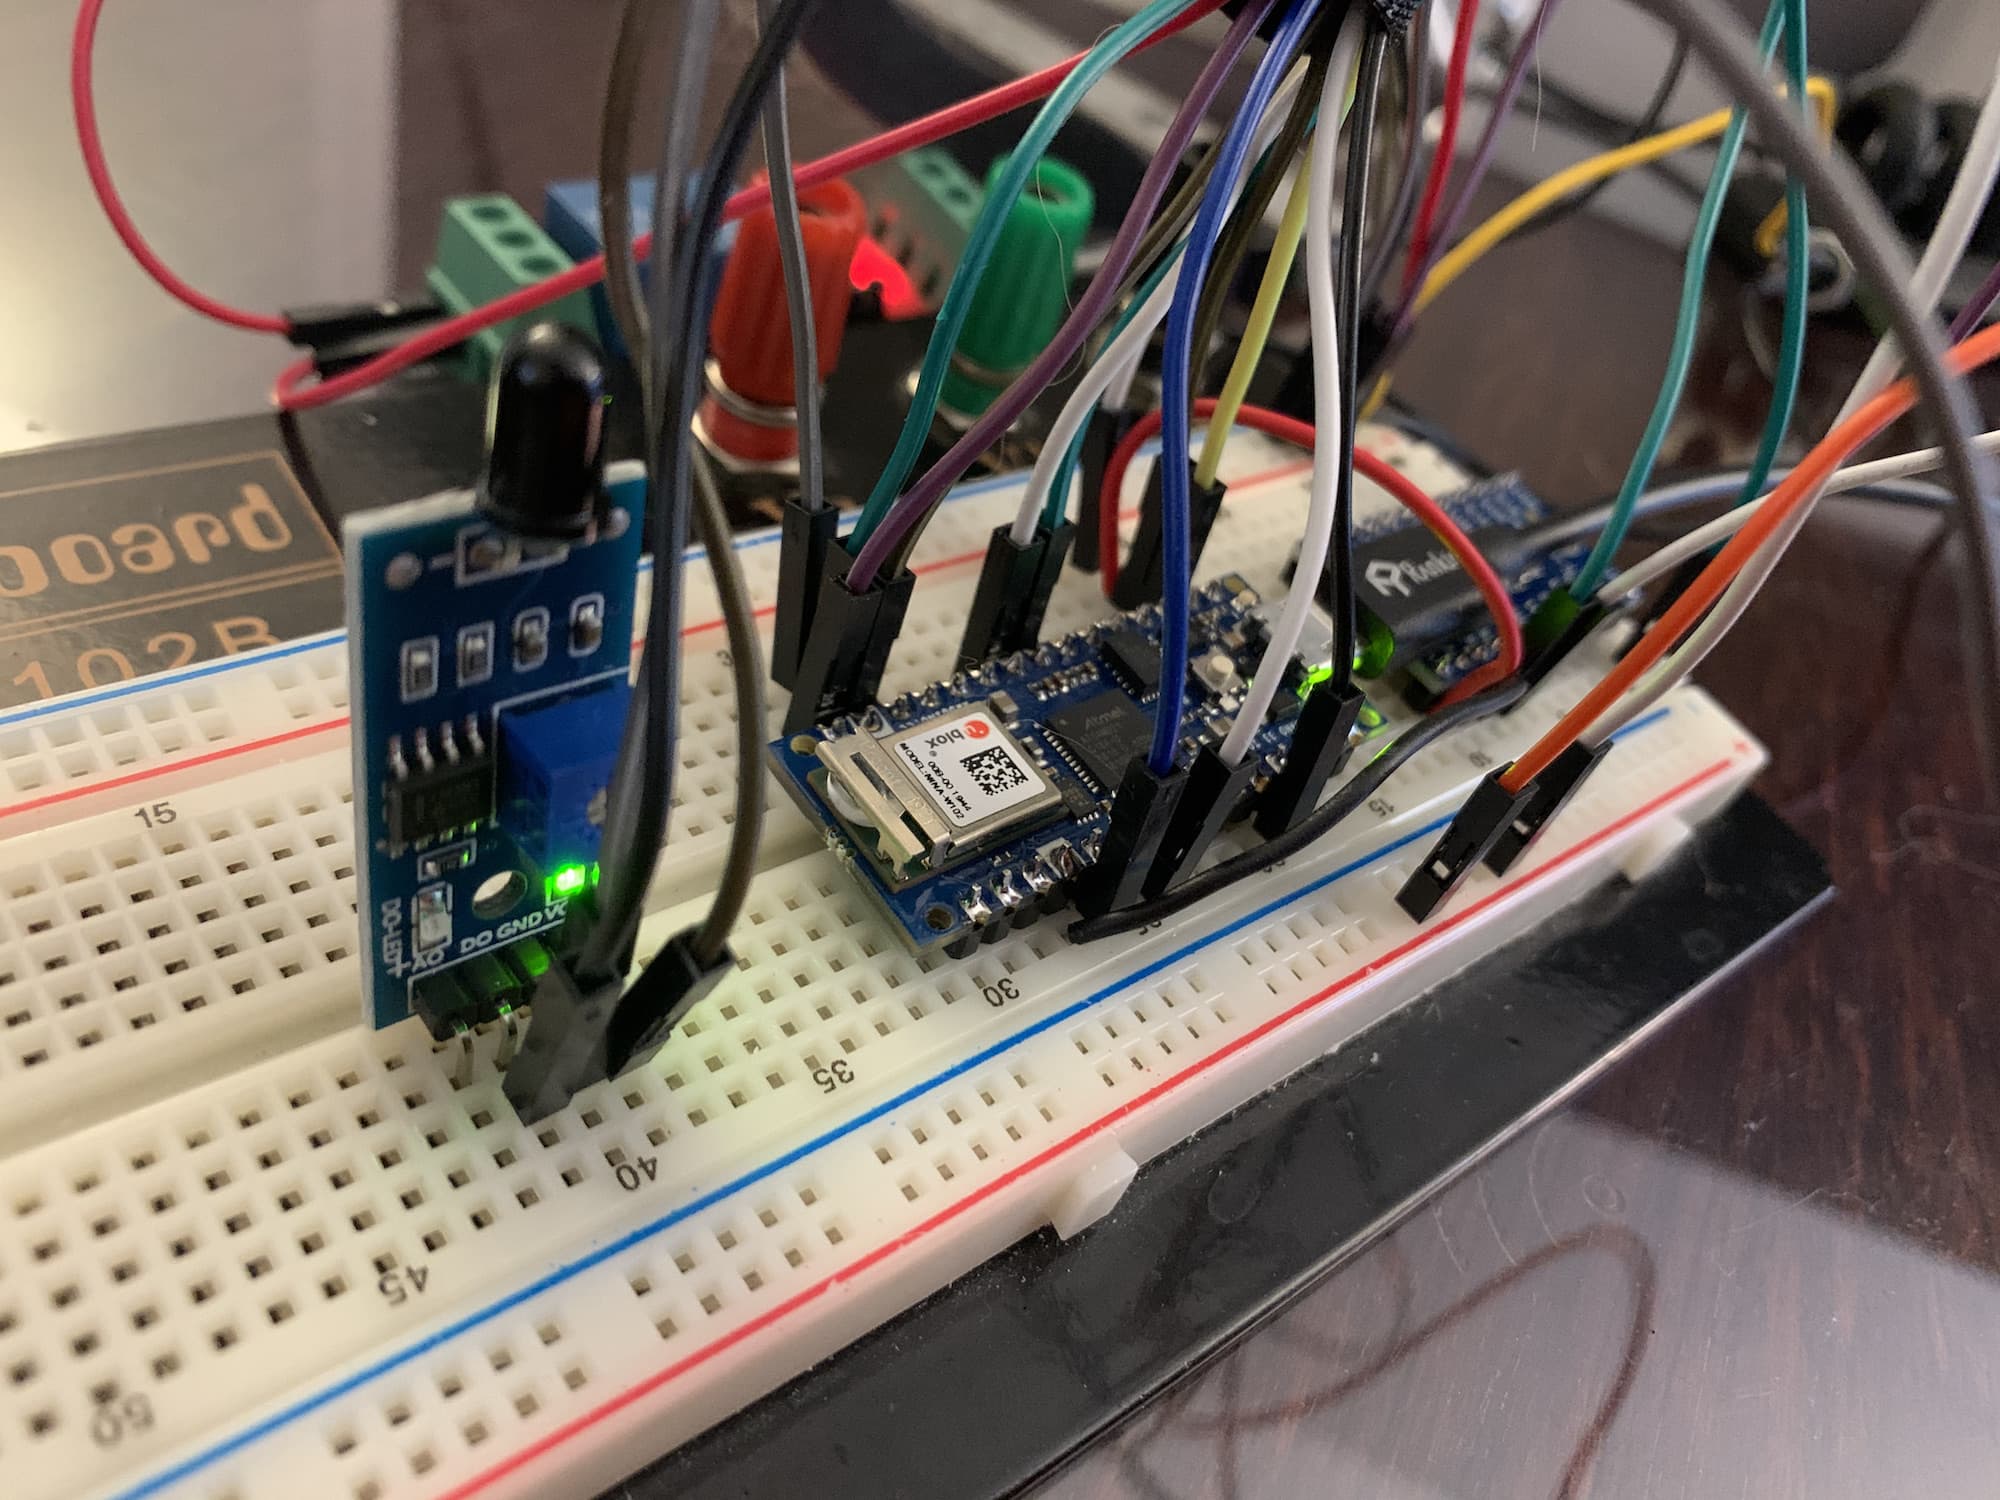
While all of this is happening, the Arduino is also checking a flame sensor that hovers over the printer. If this sensor detects a fire, the power to the Ultimaker is immediately shut off, and a piezo alarm starts blaring. It's not as cool as those automatic fire suppression kits you can buy, but the alarm can be heard throughout the house.
Filtration
The fan pulls air out of the chamber, through a HEPA filter and a carbon filter, and then out the back. You can find all the parts I used here.
Future Improvements
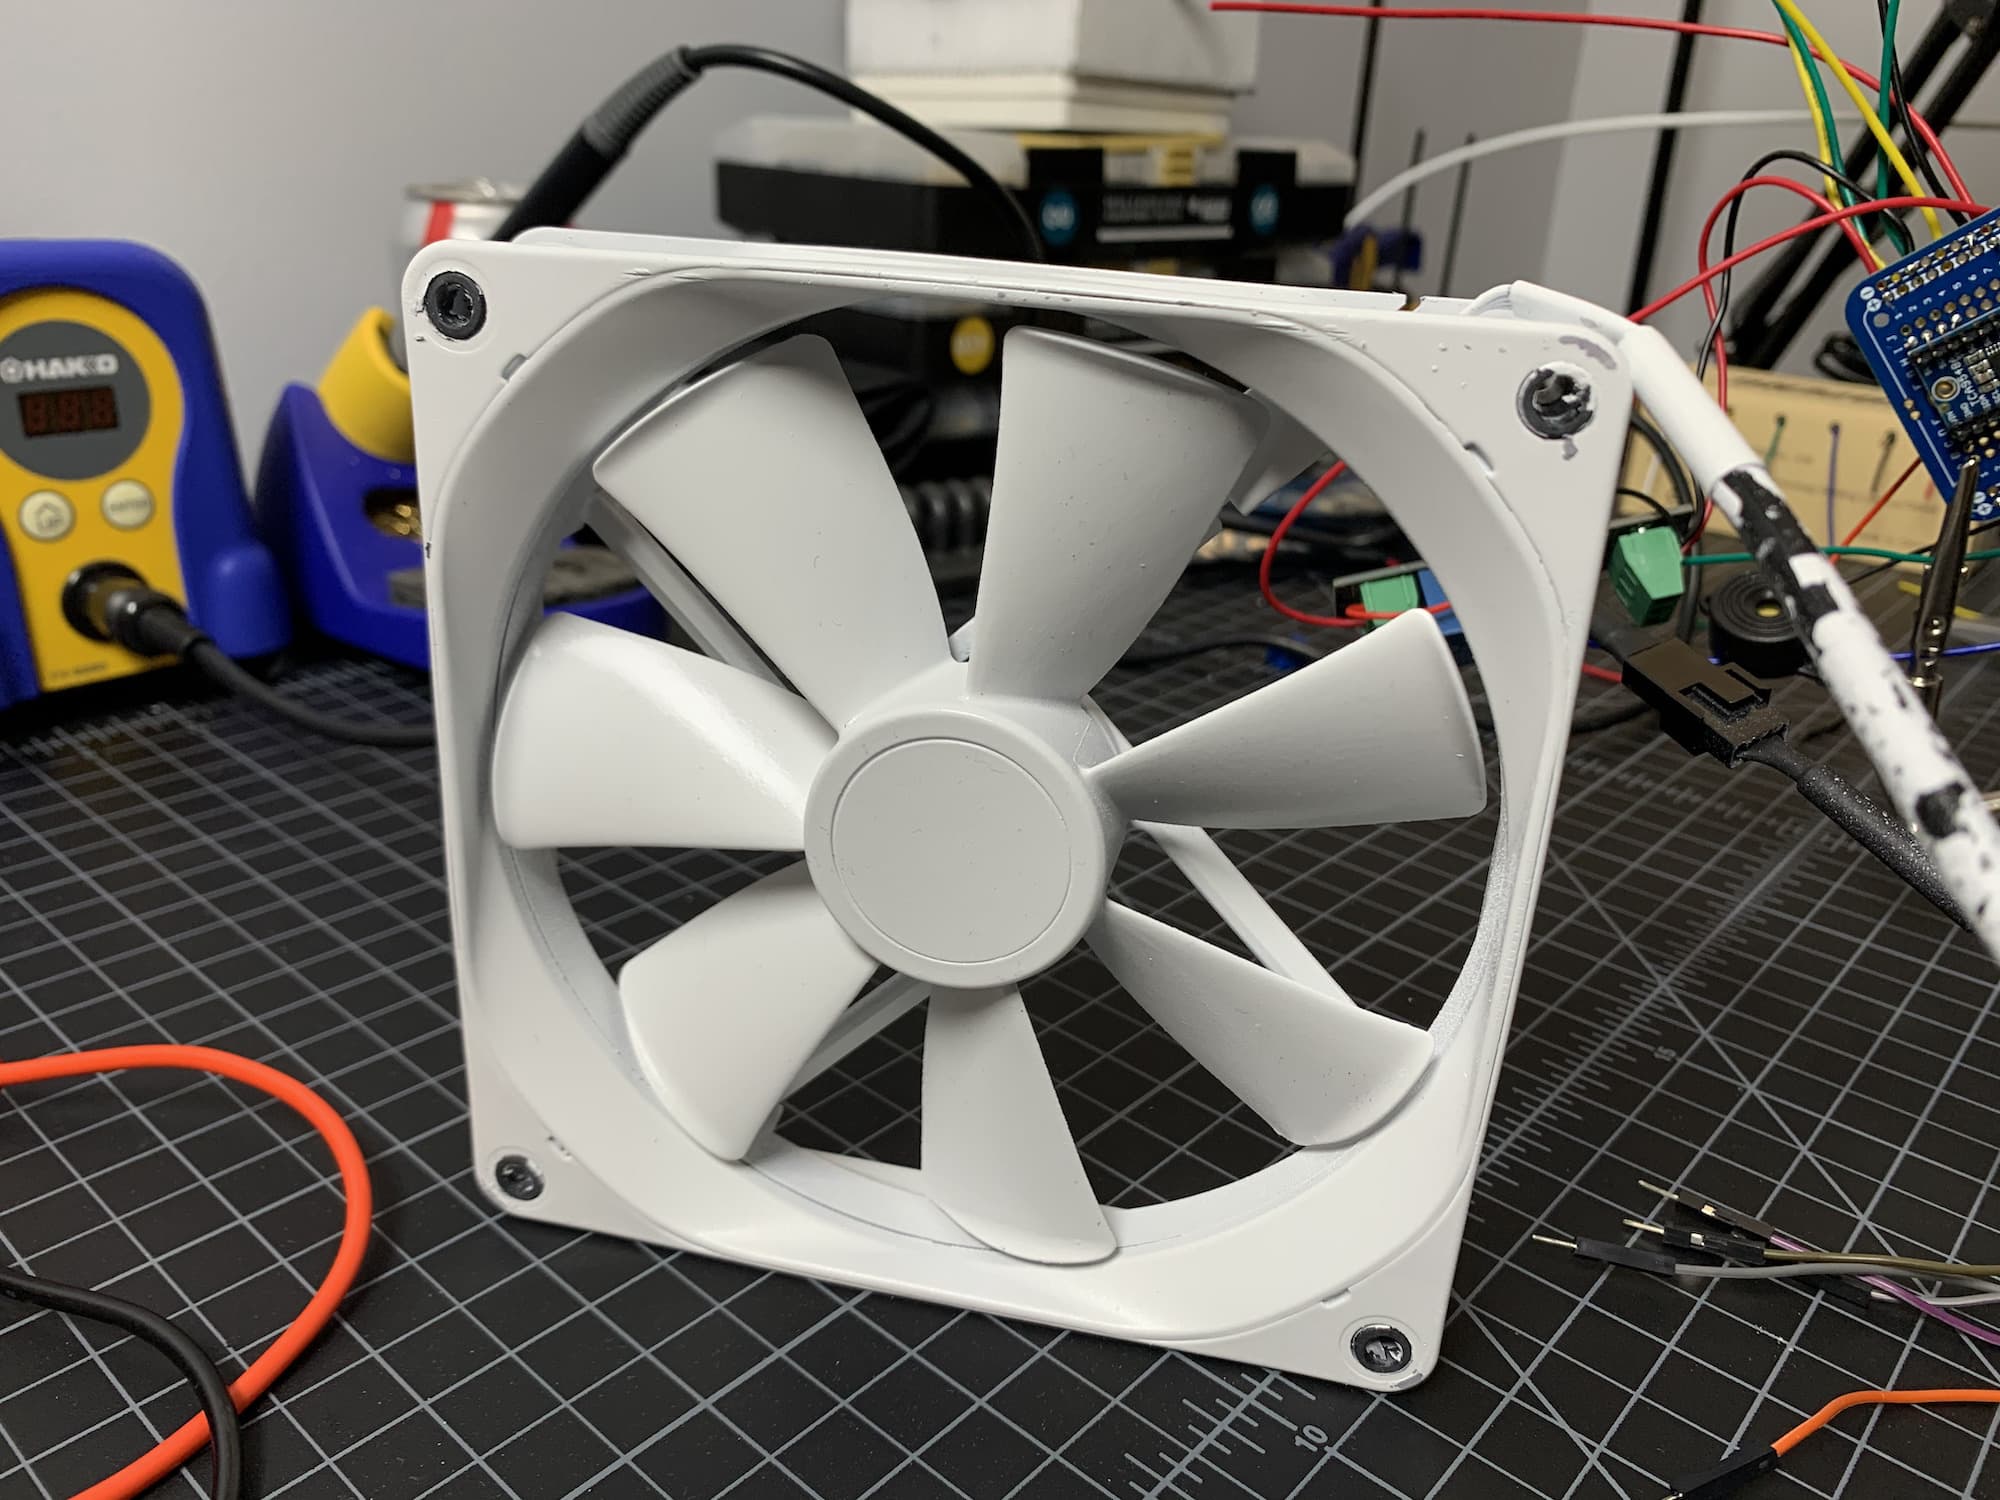
The fan I have probably isn't pushing as much air as I'd like through the two filters. I'd like to upgrade it to something better in the future.
You can find the code for this project on GitHub.
All said and done, this project was fun to build and gives my wife and me some peace of mind. If you've created something similar, I would love to hear about it!