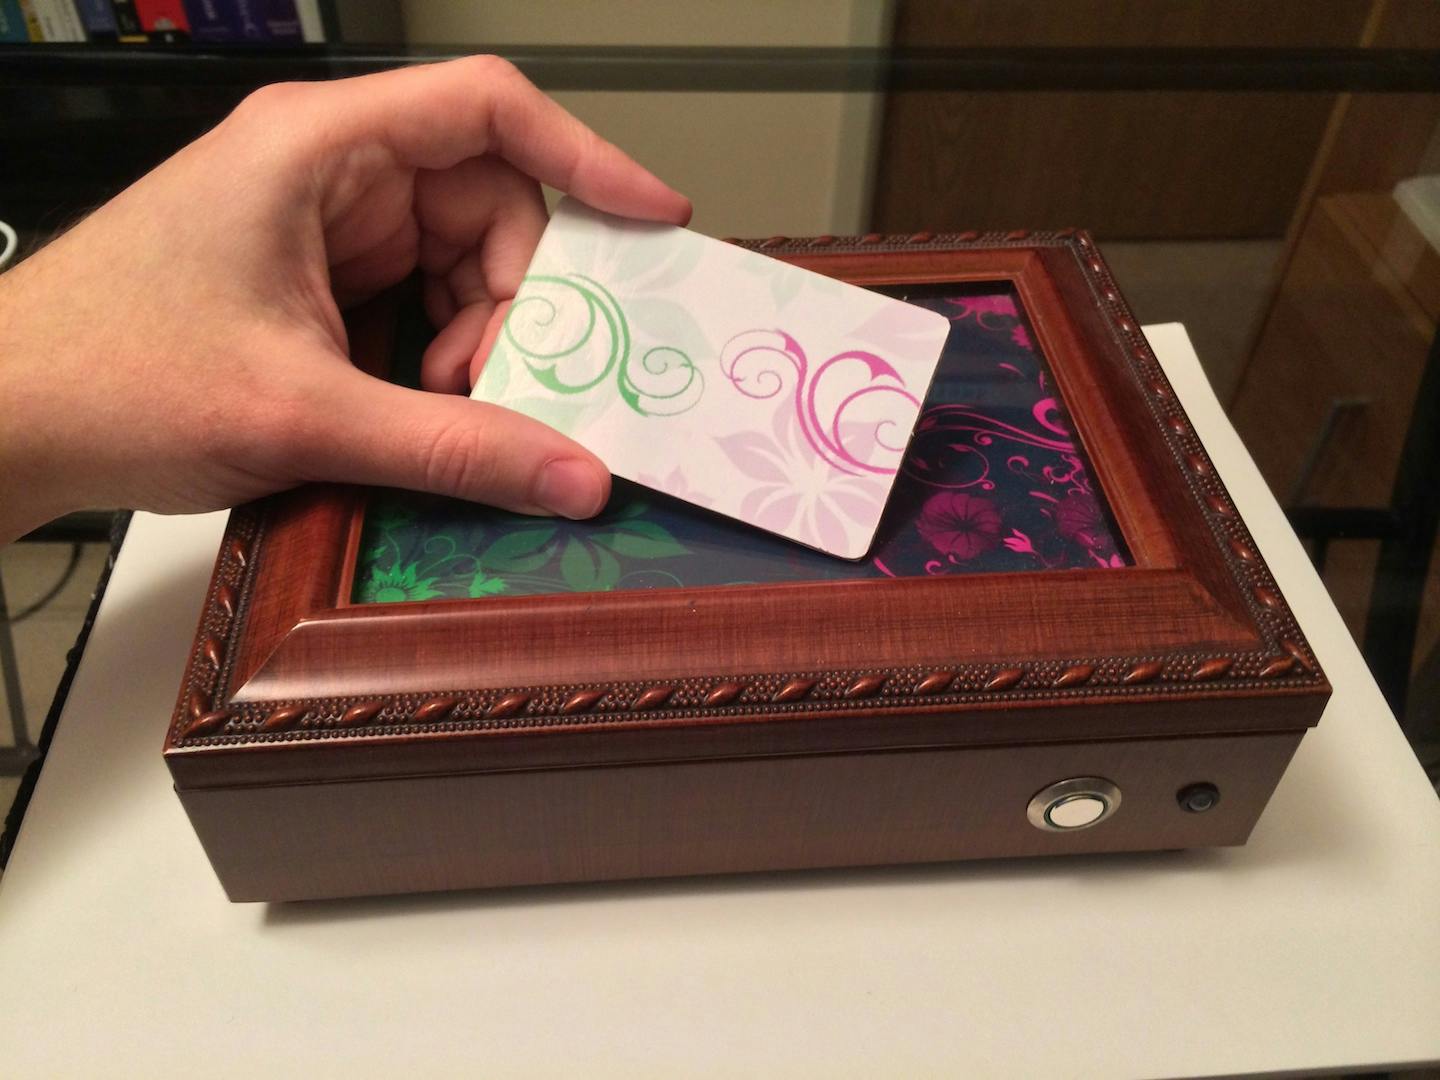
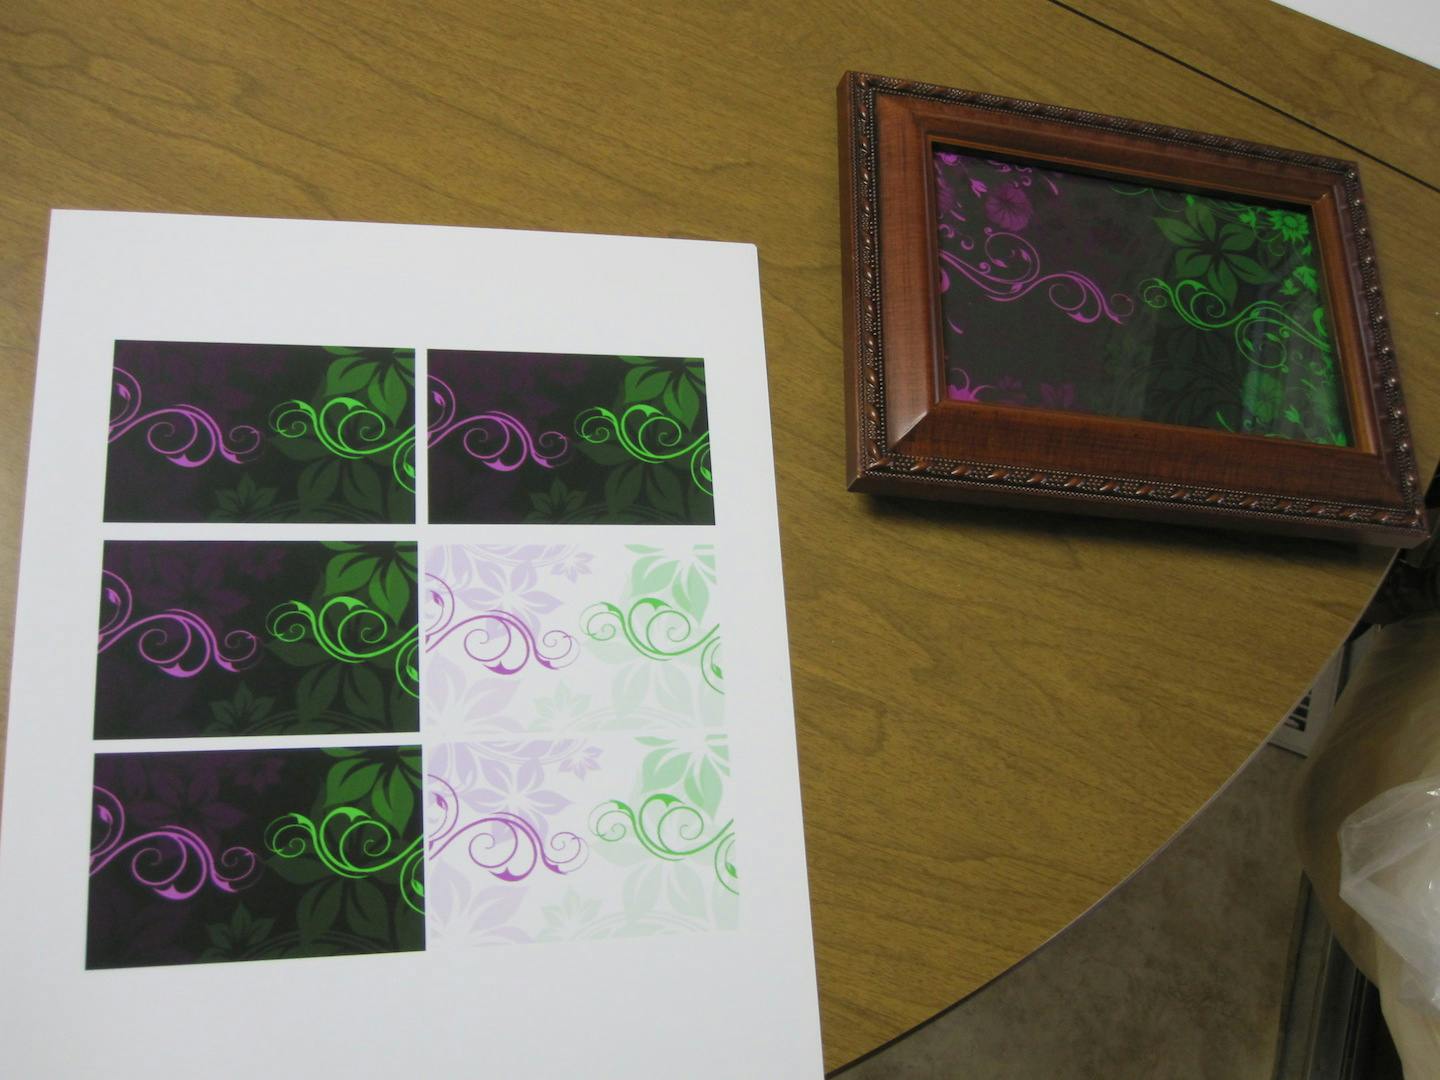
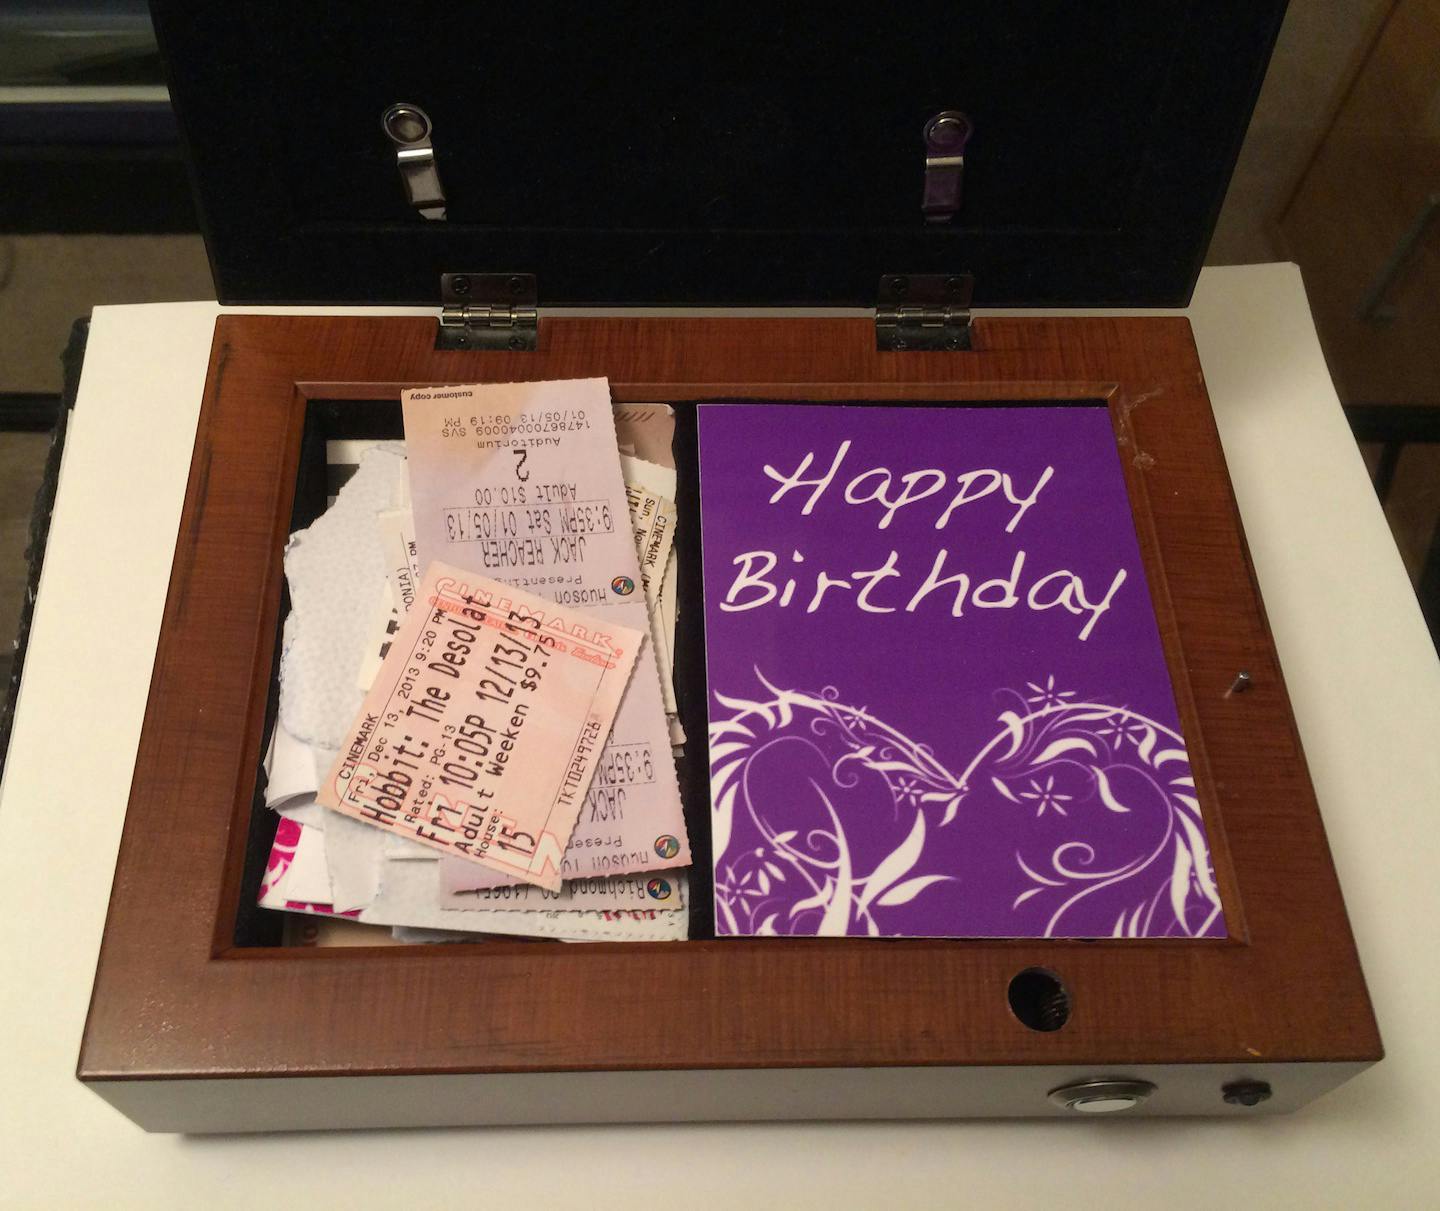
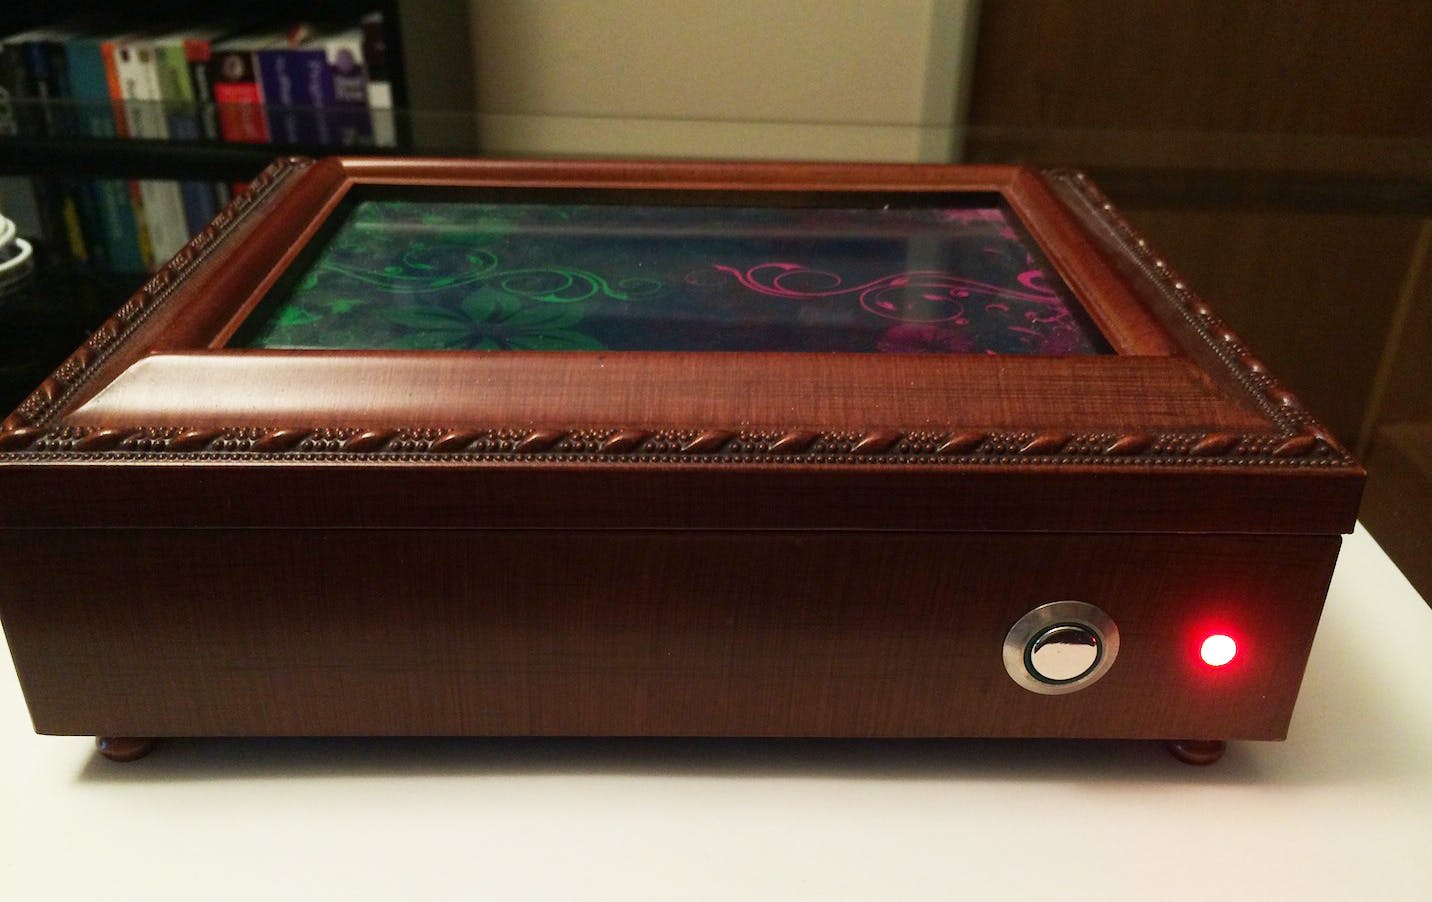
A few years ago, I wanted to make something special for my girlfriend's birthday. After experimenting with an Arduino, I decided to try to make her a high-tech keepsake box that can lock or unlock with an RFID card. Here is the final result:
I had read about the Reverse Geocache Puzzle by Mikal Hart and thought the idea was brilliant. I wanted to do something similar, but with a twist.
My girlfriend had mentioned wanting a place to keep small mementos, so I thought a personalized keepsake box would be perfect!
Parts Used
- Hallmark “Keep and Remember” box
- Arduino
- Parallax RFID Reader (Serial)
- Micro Servo
- Piezo Electric Speaker
- Pololu Pushbutton Power Switch LV
- Illuminated Pushbutton
- Triple Output LED RGB
- Metal Eye Hook and Small Copper Rod
- 9V Battery
Design
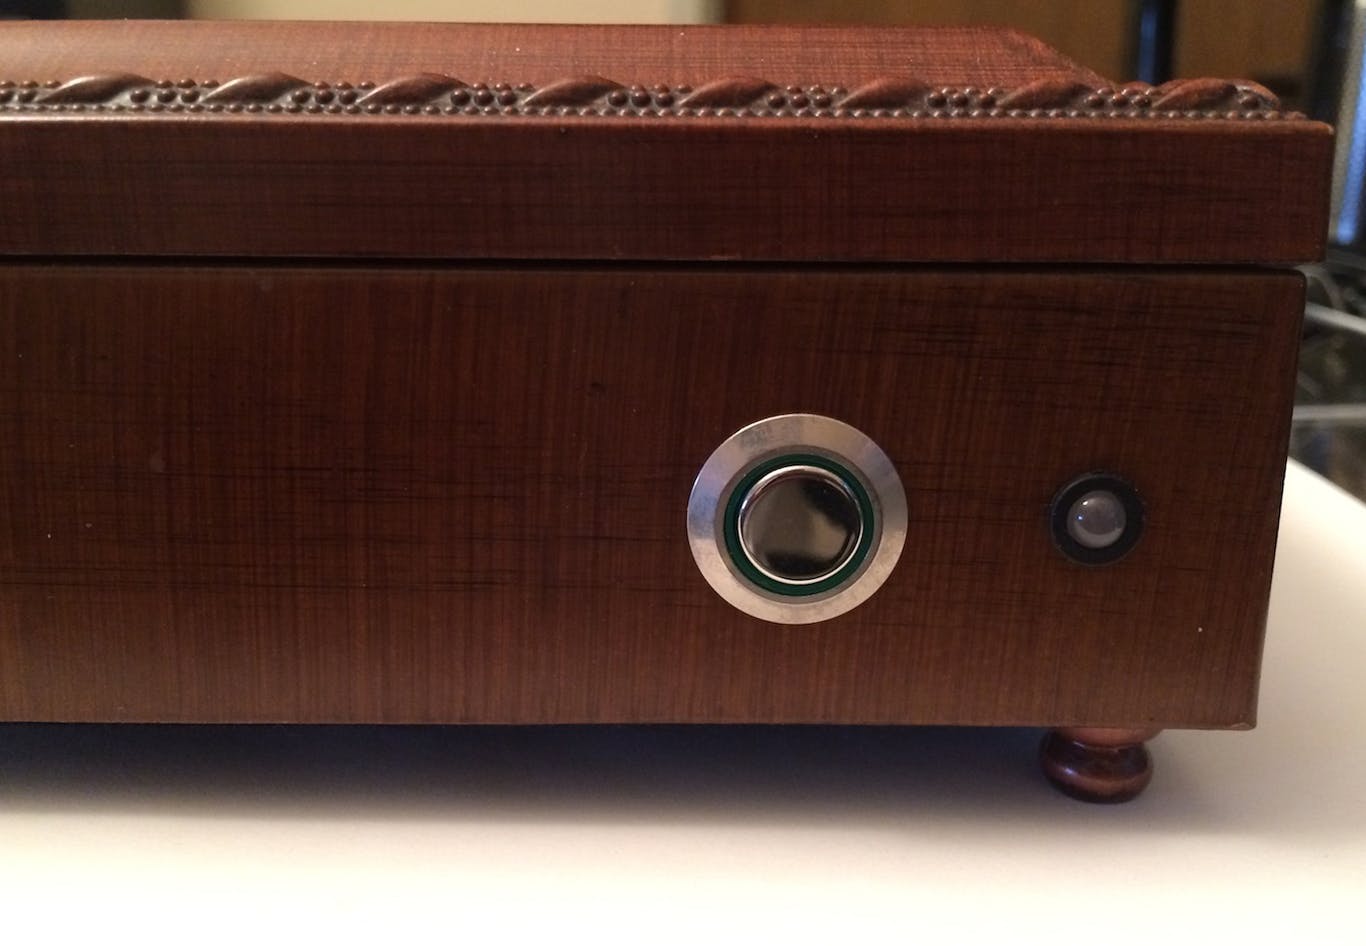
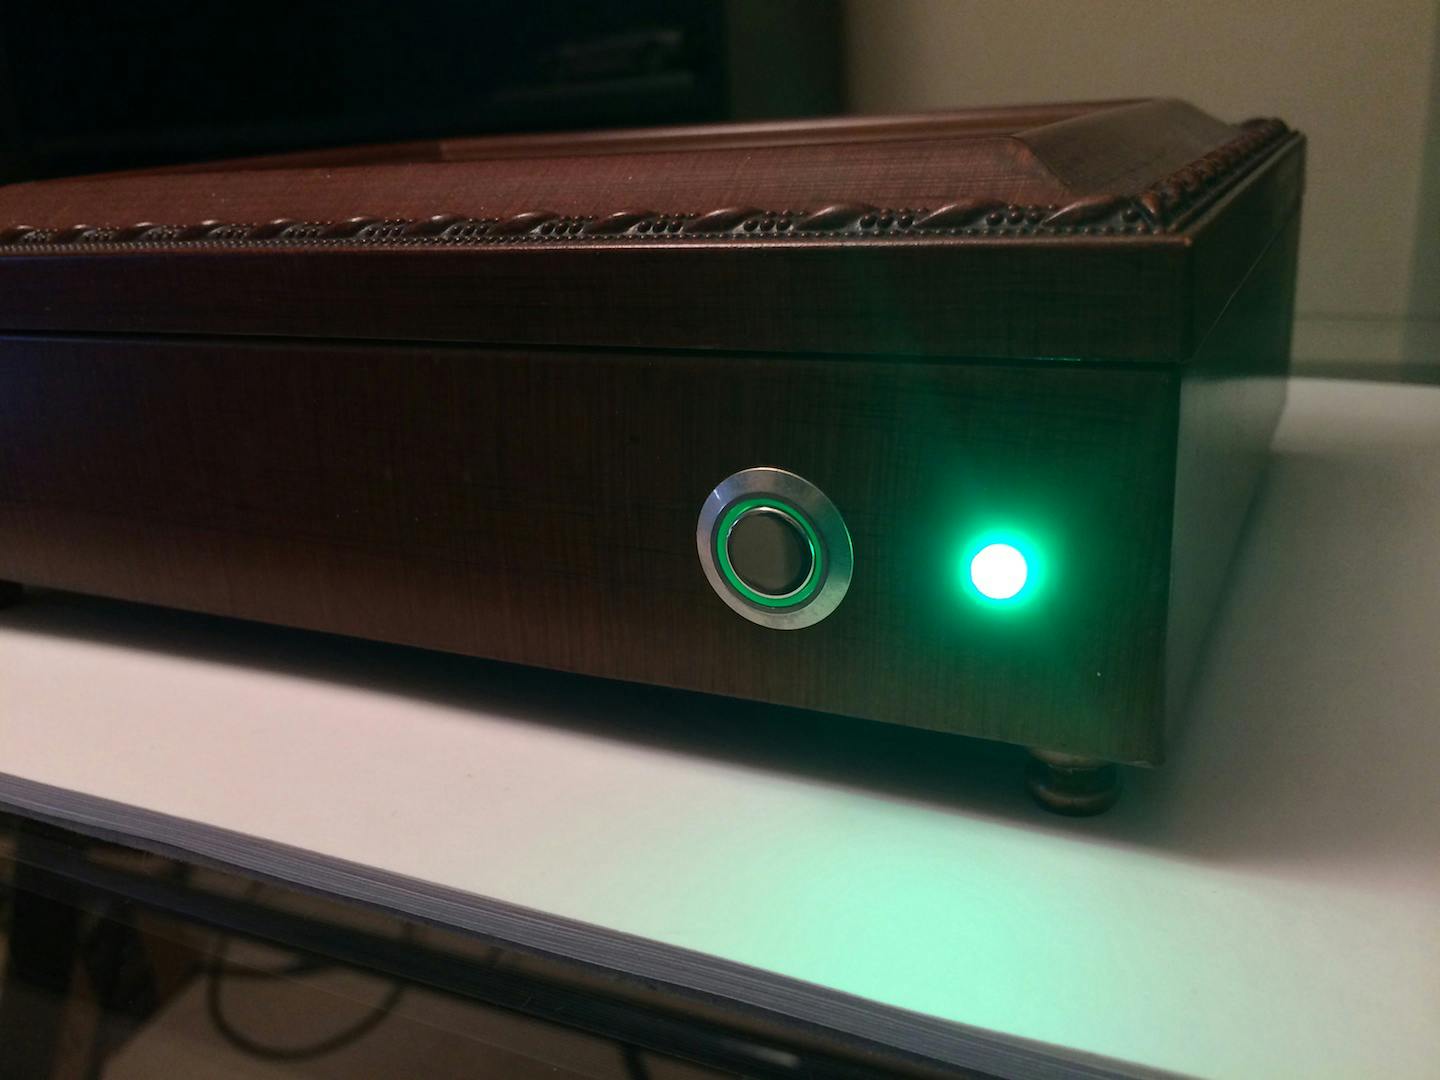
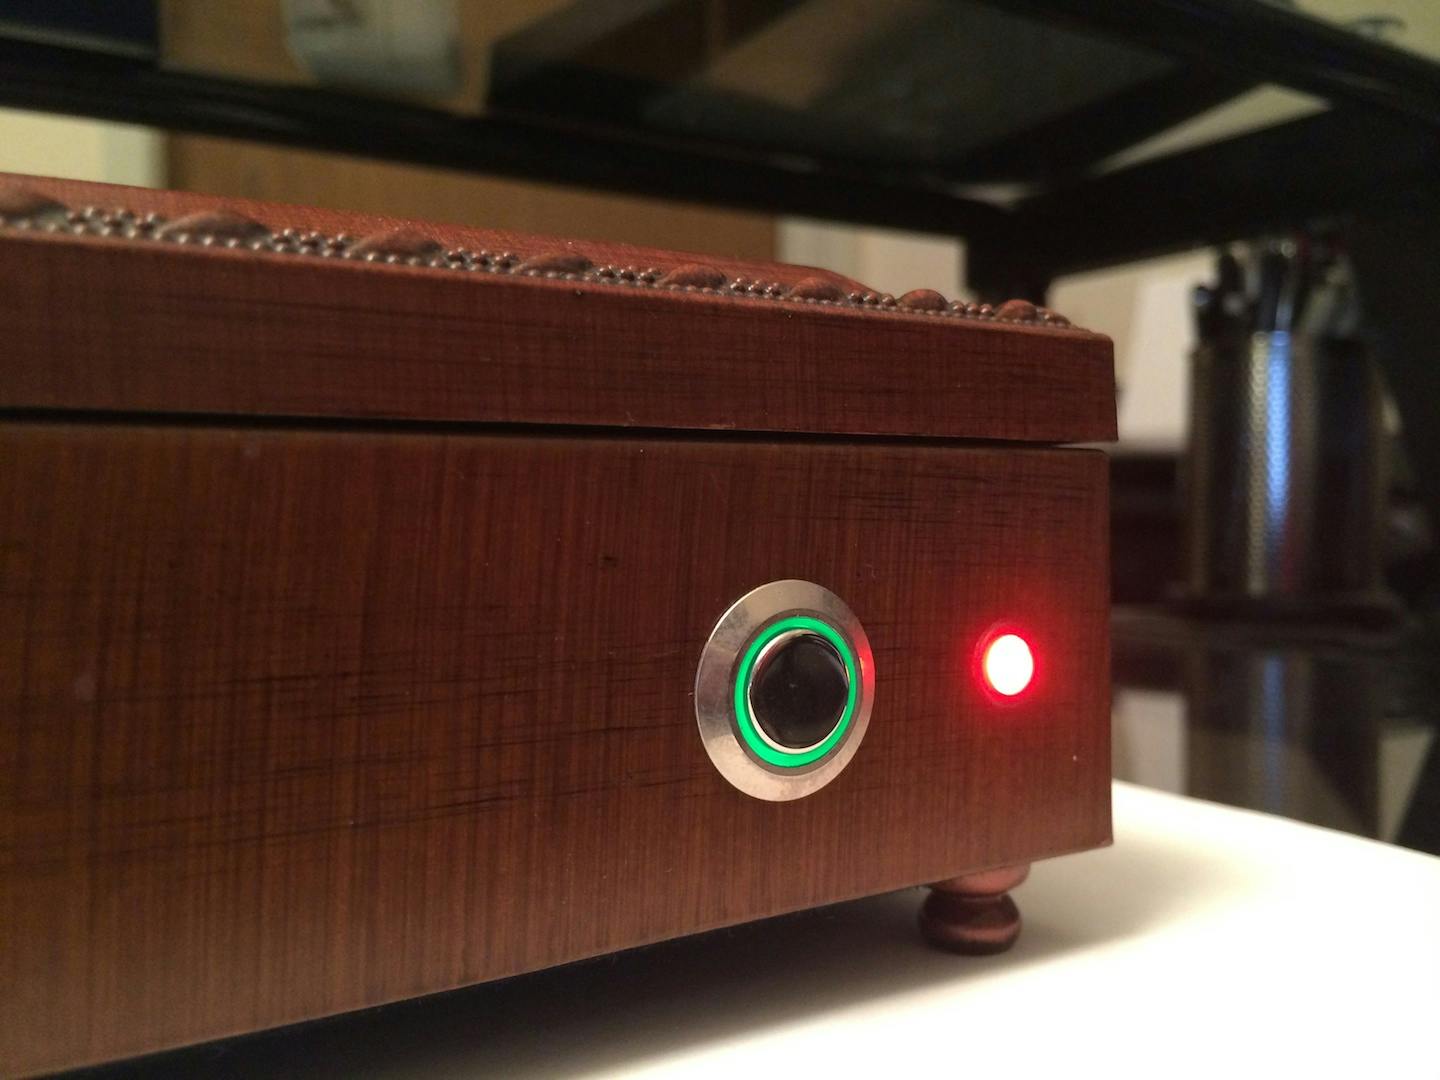
The box is fairly simple: the outside consists of a button and an LED. The button turns the box on and the LED indicates whether it's locked.
The inside consists of the Arduino, RFID reader, speaker, power switch, and servo. Here's a picture of the servo, which is attached to a small rod.
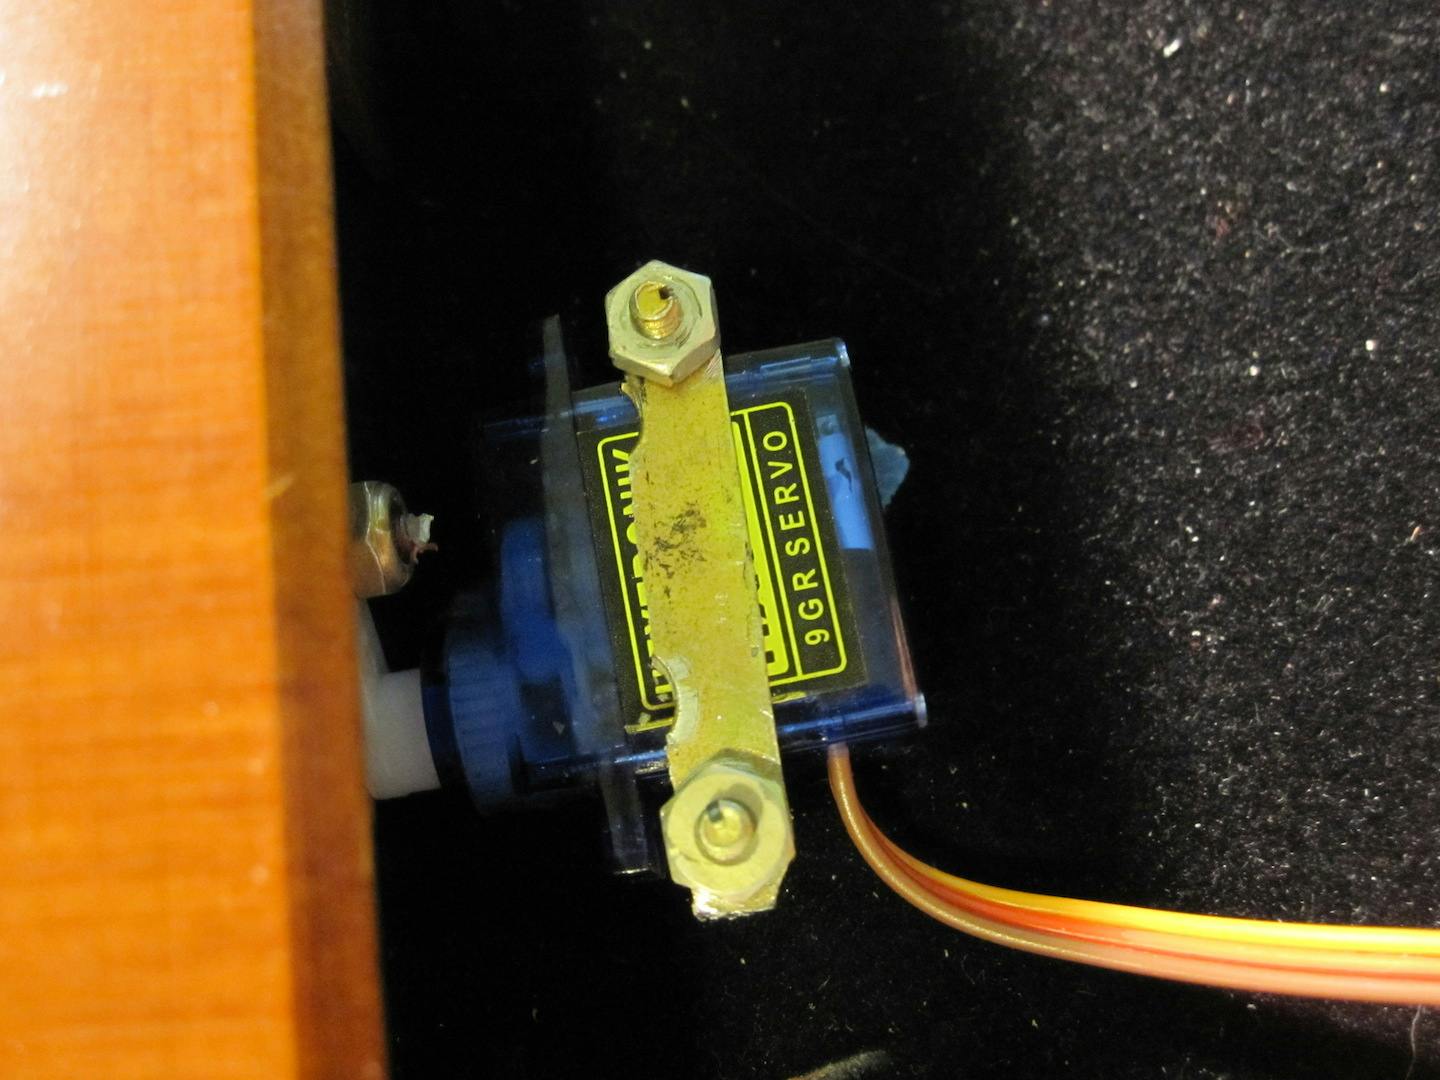
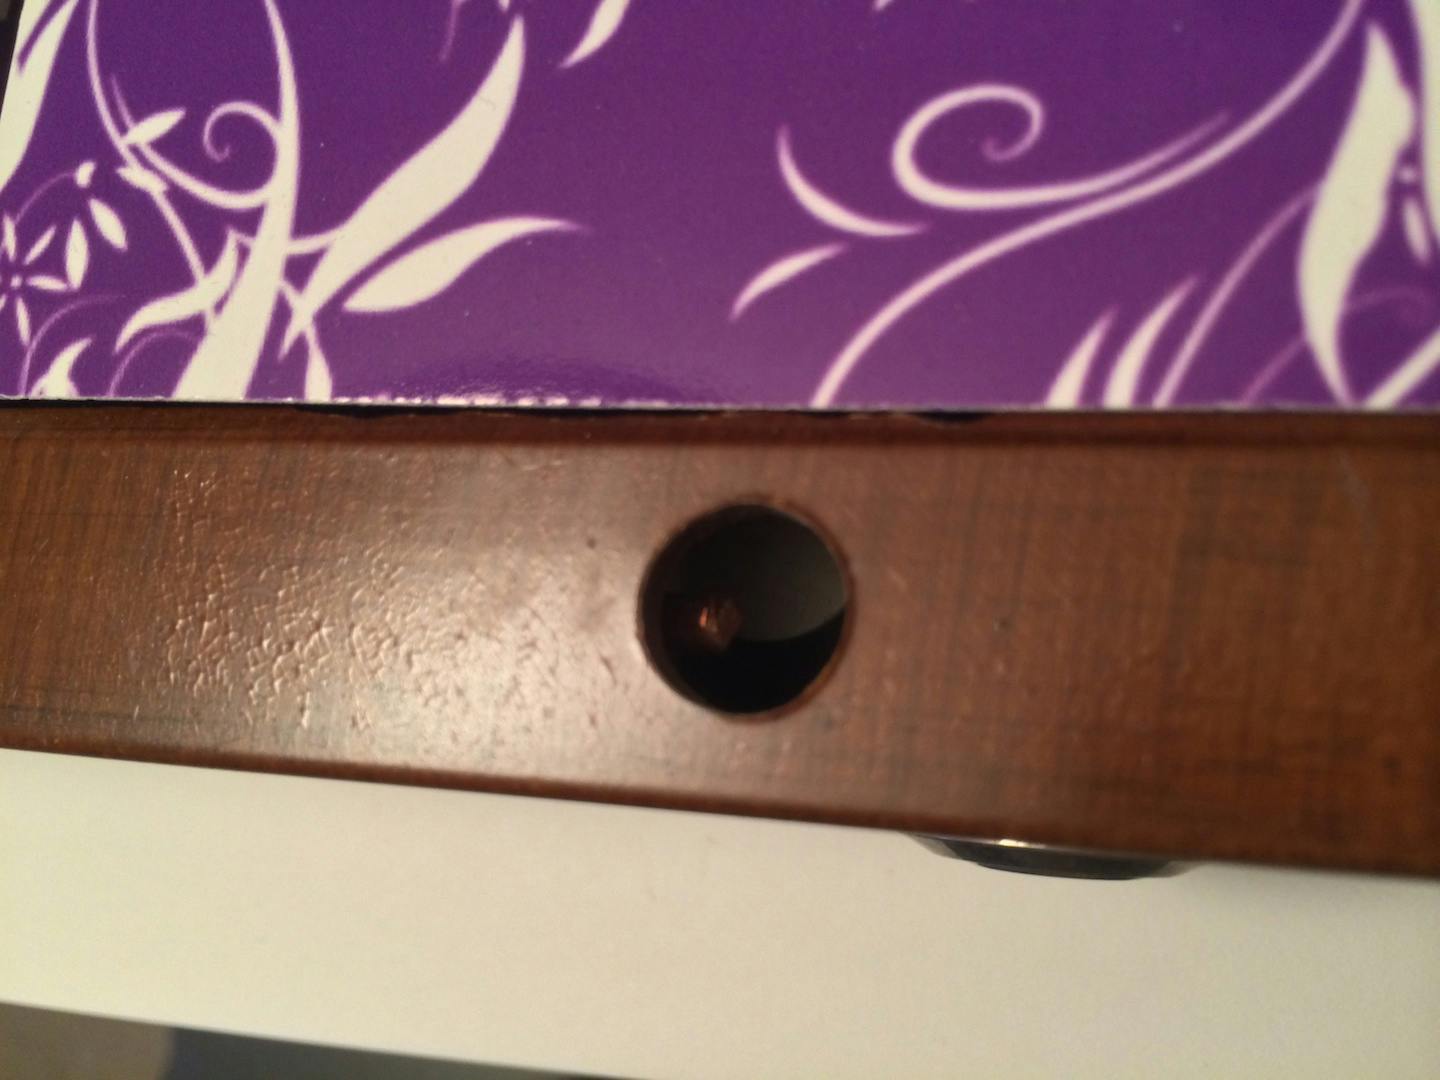
When the box is closed, a small metal eye hook is fed through a hole in the rim of the box. To lock the box, the servo pushes the rod through the eye.

I wanted the battery to last as long as possible, so the Arduino is only powered when it needs to be. When the user presses the button, the Pololu switch triggers power to the Arduino, which then listens for RFID tags. When a valid tag is found, the Arduino plays a little tune and turns the servo to unlock the box. If the box doesn't scan any tags after a certain amount of time, the box shuts off.
The Pololu switch works extremely well. The box has been working for 4 years with the same 9V battery!
Planning for Battery Failure
Since the battery is inside the box, I added a fail-safe for when it finally loses charge. When the battery dies, the box can still be opened with these steps:
- Place the RFID tag on the table
- Place the box upside down on top of the RFID tag
- Hold the terminals of a 9V battery to the two screws on the bottom of the box (as shown below)
- Press the button
The box will be powered by the 9V battery and unlock.

Software
There are a lot of fantastic Arduino resources out there. When writing the code I used the following examples:
- Code for using the Arduino with the Parallax RFID reader
- PlayMelody - Code for playing melodies from a Piezo Speaker
You can find the complete code here. It's a little rough around the edges, but it works well!
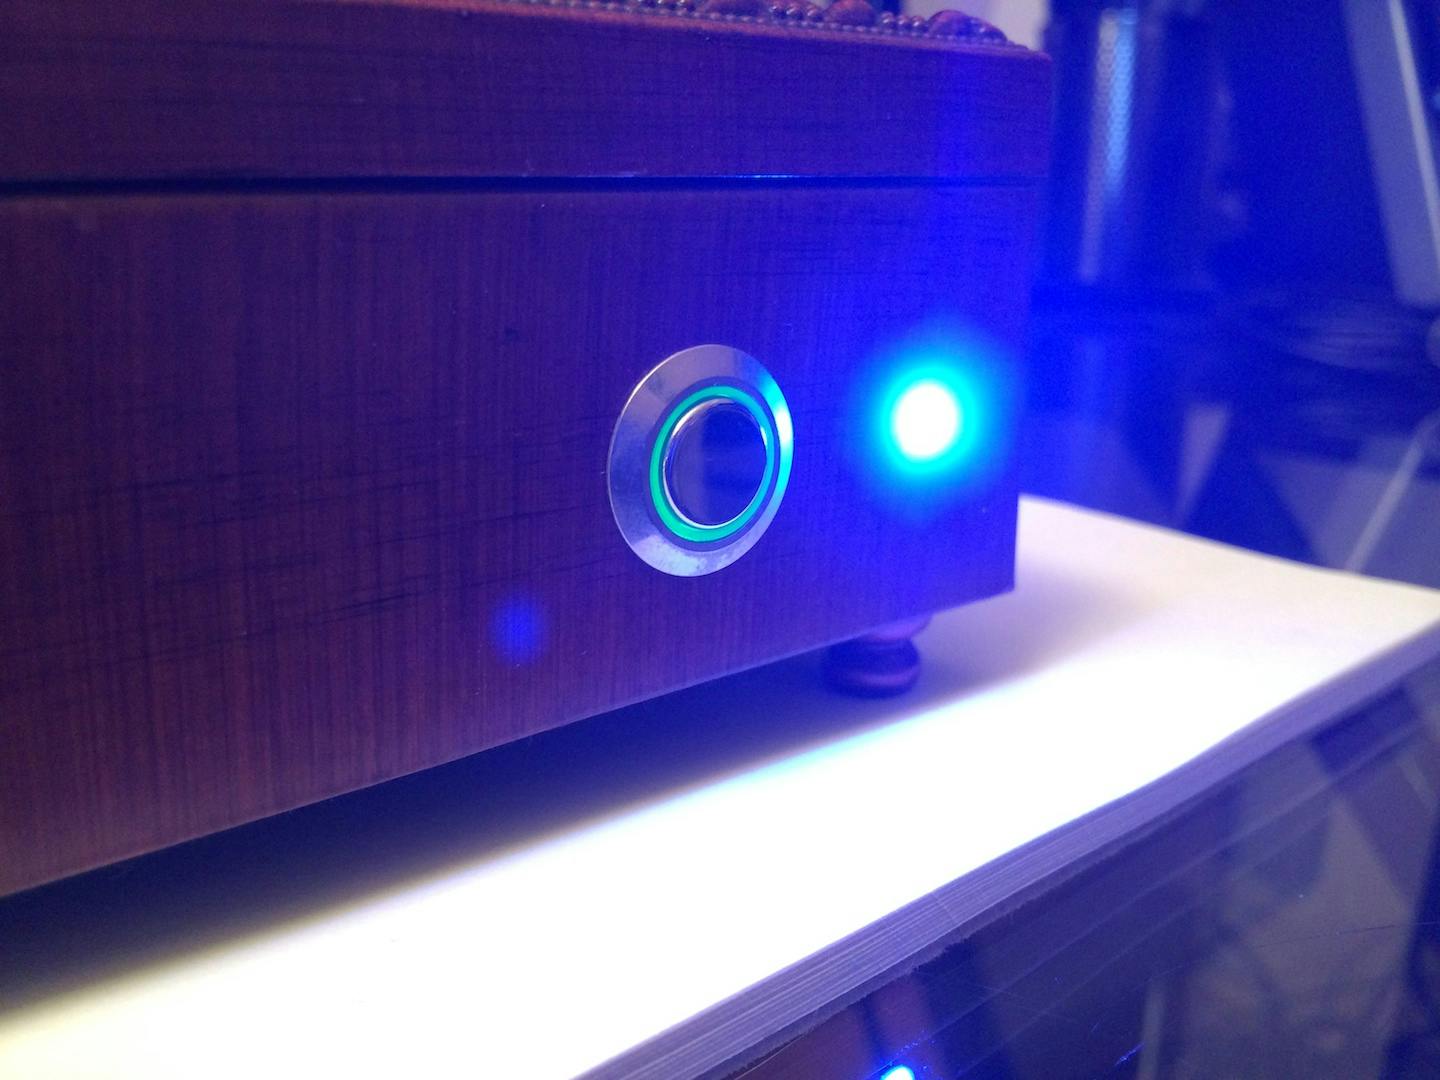
Photos
Here are some more random photos of the box:
FAQ
What happens if she loses the RFID tags? I have several extra RFID tags hidden away just in case!
Why didn't you use a phillips screw for the positive side of the emergency backup solution? Because I'm an idiot and didn't think of it at the time!